Getting Started with Prism
Welcome to Prism! This guide will walk you through setting up your first workspace, creating secure compute environments, and running your first computation.
What is Prism?
Prism is a confidential computing platform that enables secure multi-party computations using Trusted Execution Environments (TEEs). It allows multiple parties to collaborate on computations without exposing their sensitive data or algorithms.
Quick Start Overview
- Account Setup - Create your account and log in
- Workspace Creation - Set up your collaborative environment
- CVM Setup - Create Confidential Virtual Machines for secure computing
- Computation Management - Define, configure, and run secure computations
Account Setup
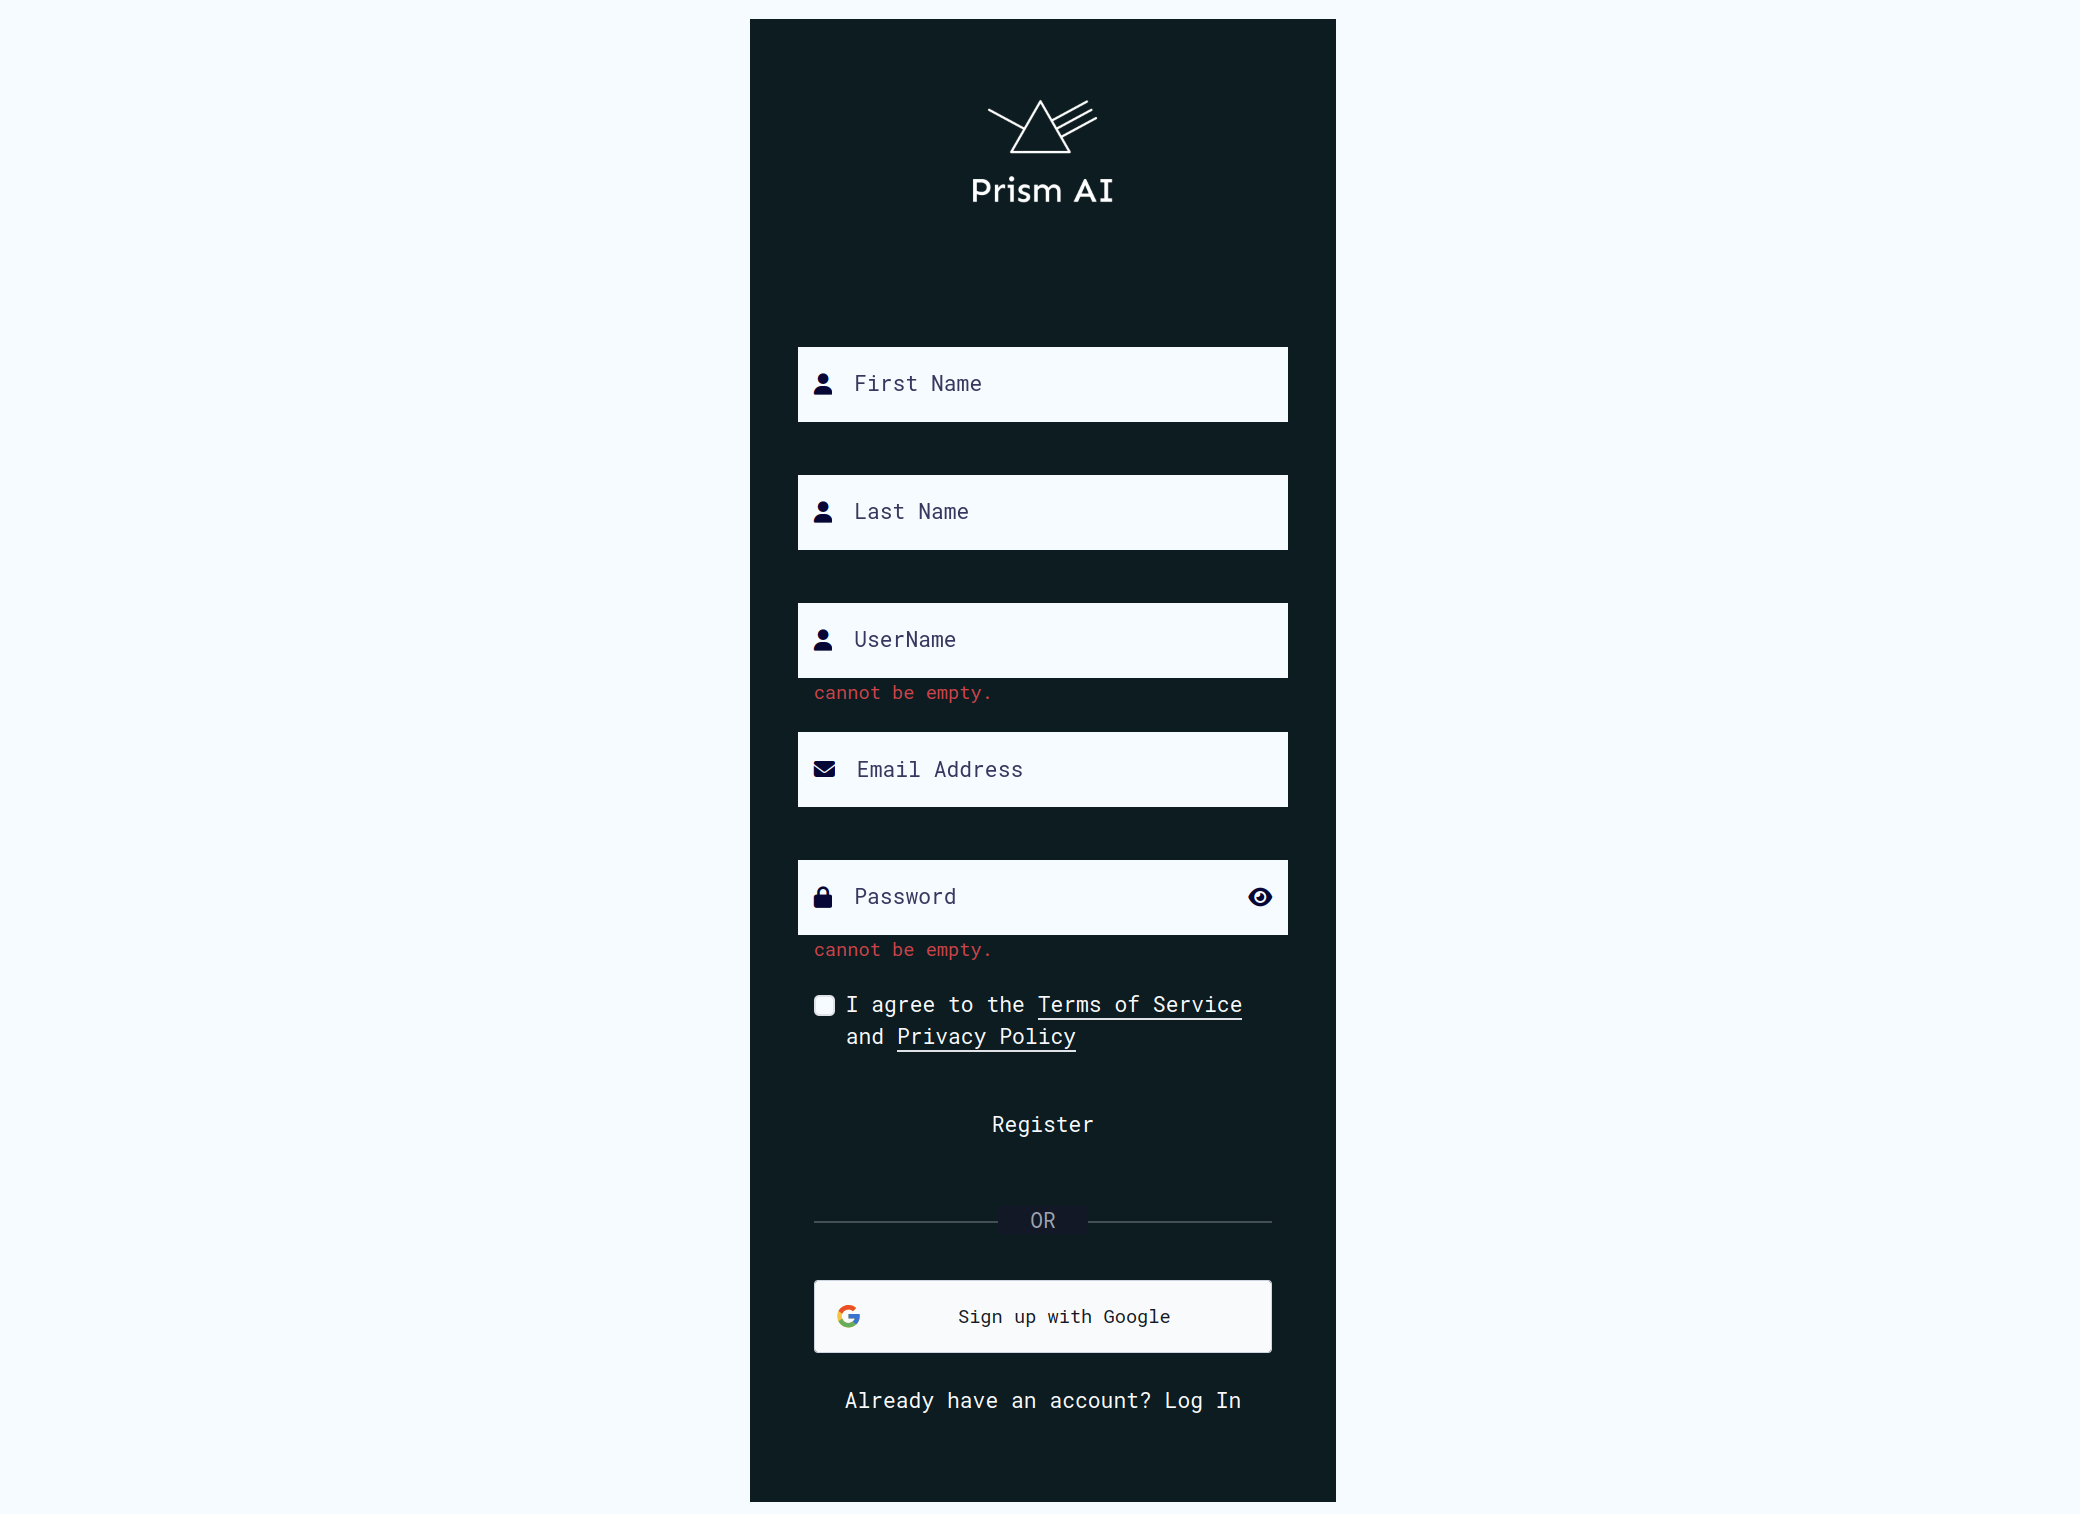
Creating Your Account
- Navigate to the Prism UI at https://prism.ultraviolet.rs
- Click Register to create a new account
- Provide your username, email, and secure password
- Complete registration and verify your email if required
Logging In
- Go to the login page
- Enter your email and password
- Click Login
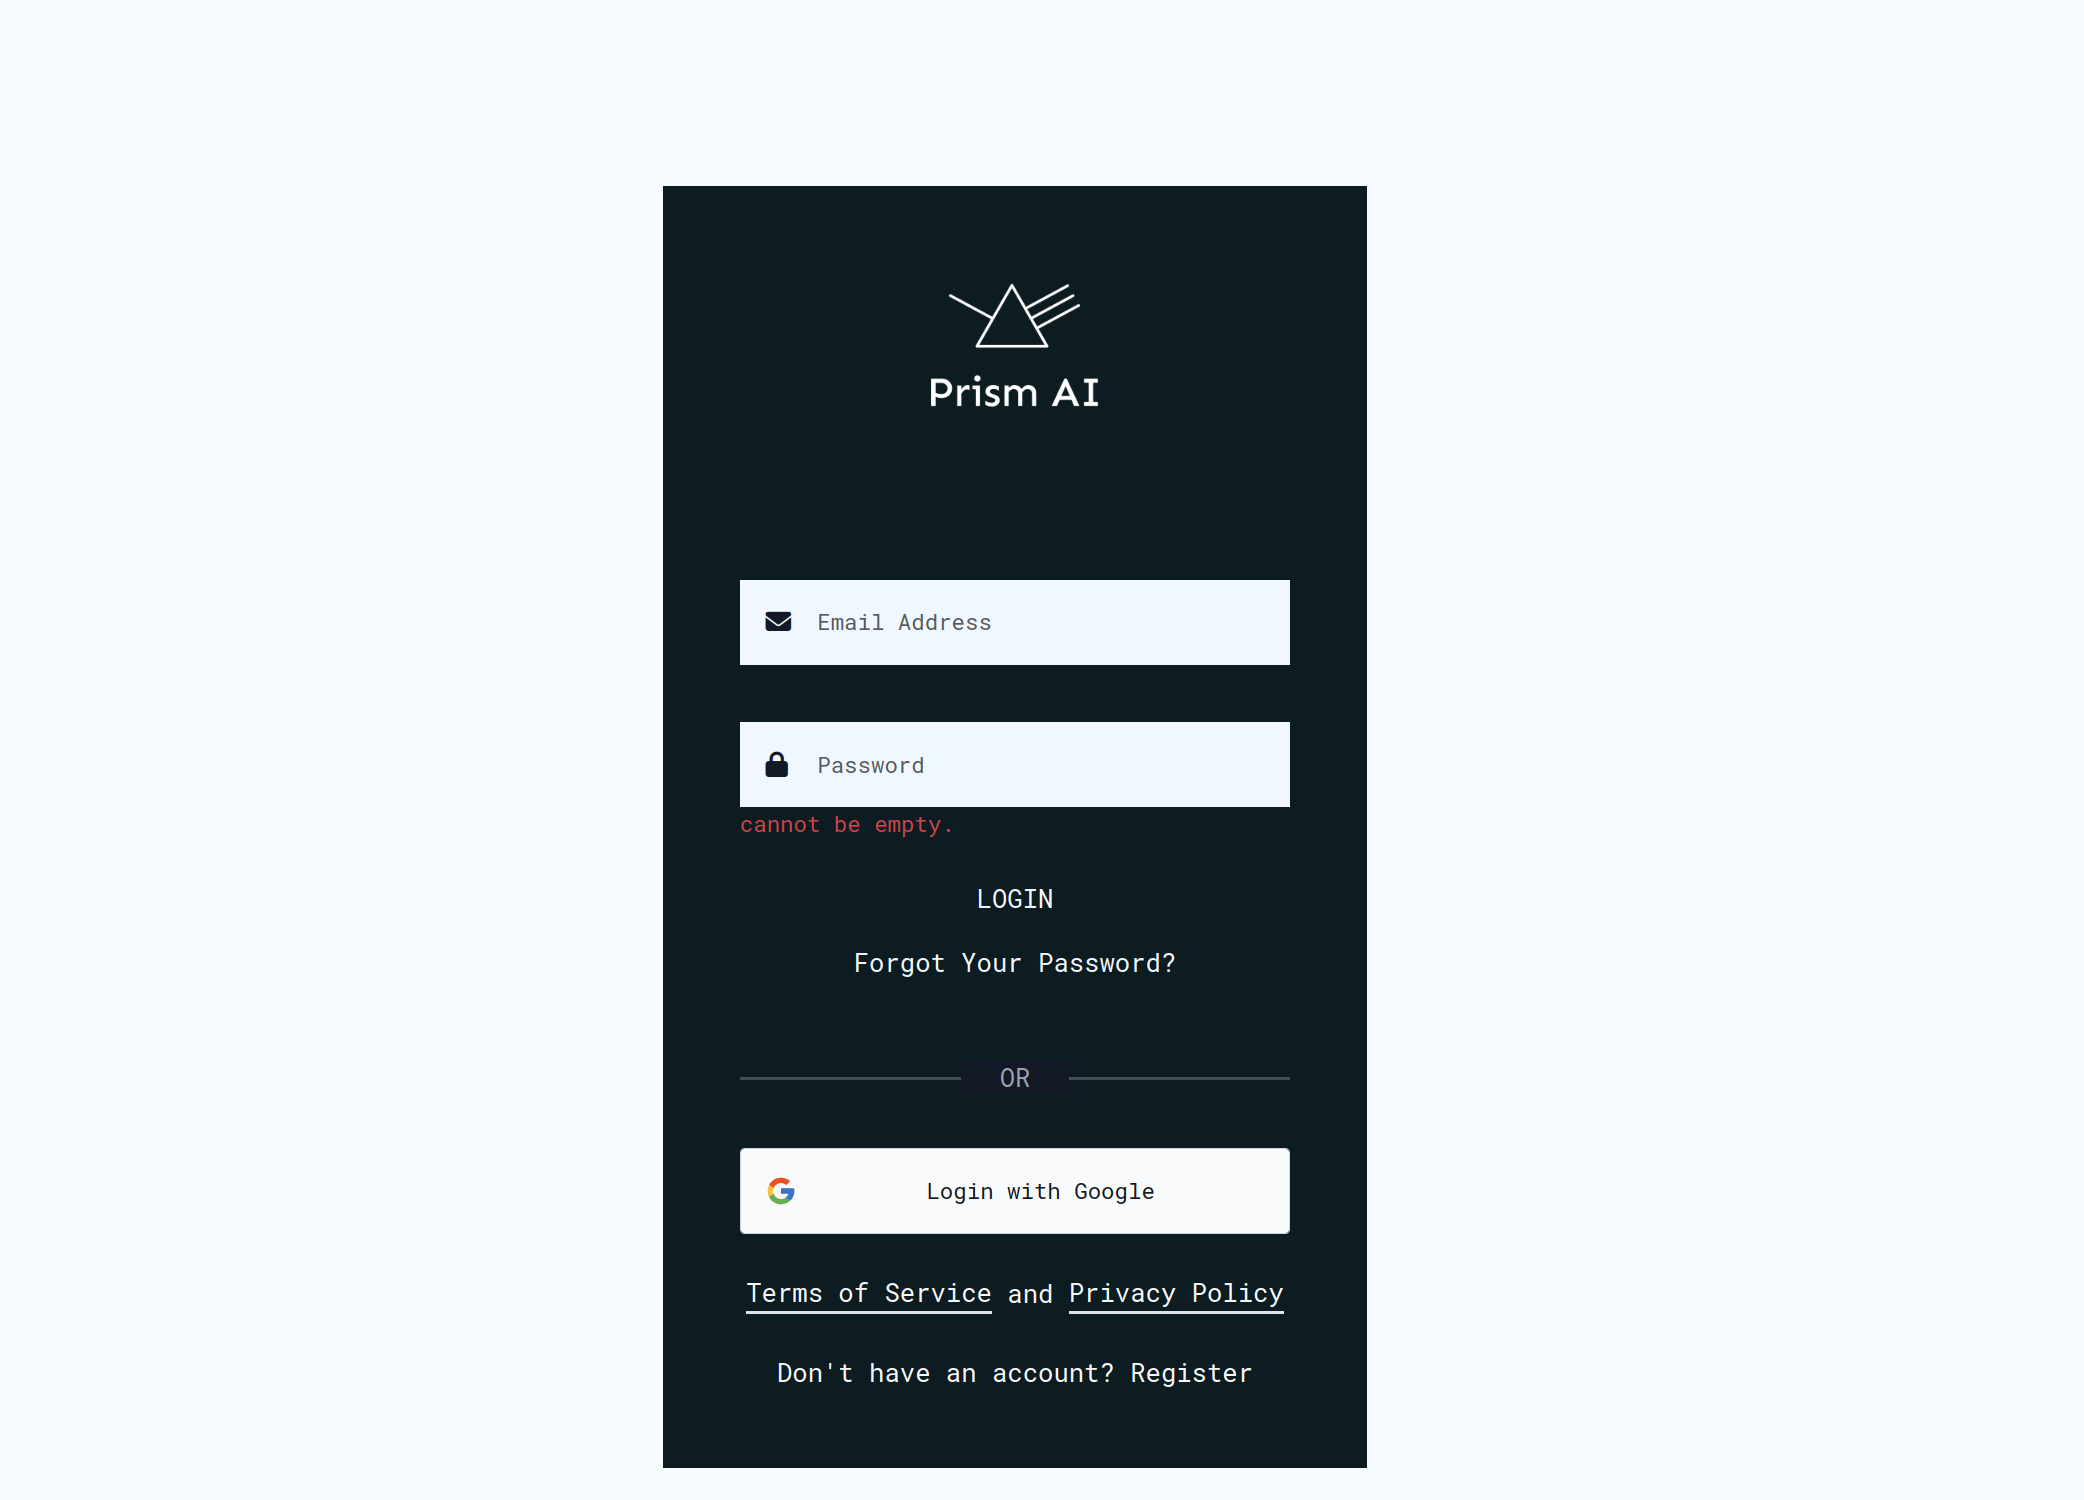
After successful login, you'll be directed to the workspaces page where you can select or create workspaces.
Workspace Management
Understanding Workspaces
Workspaces are collaborative environments where teams can:
- Share secure computations
- Manage user permissions and roles
- Control access to algorithms and datasets
- Monitor computation runs and results
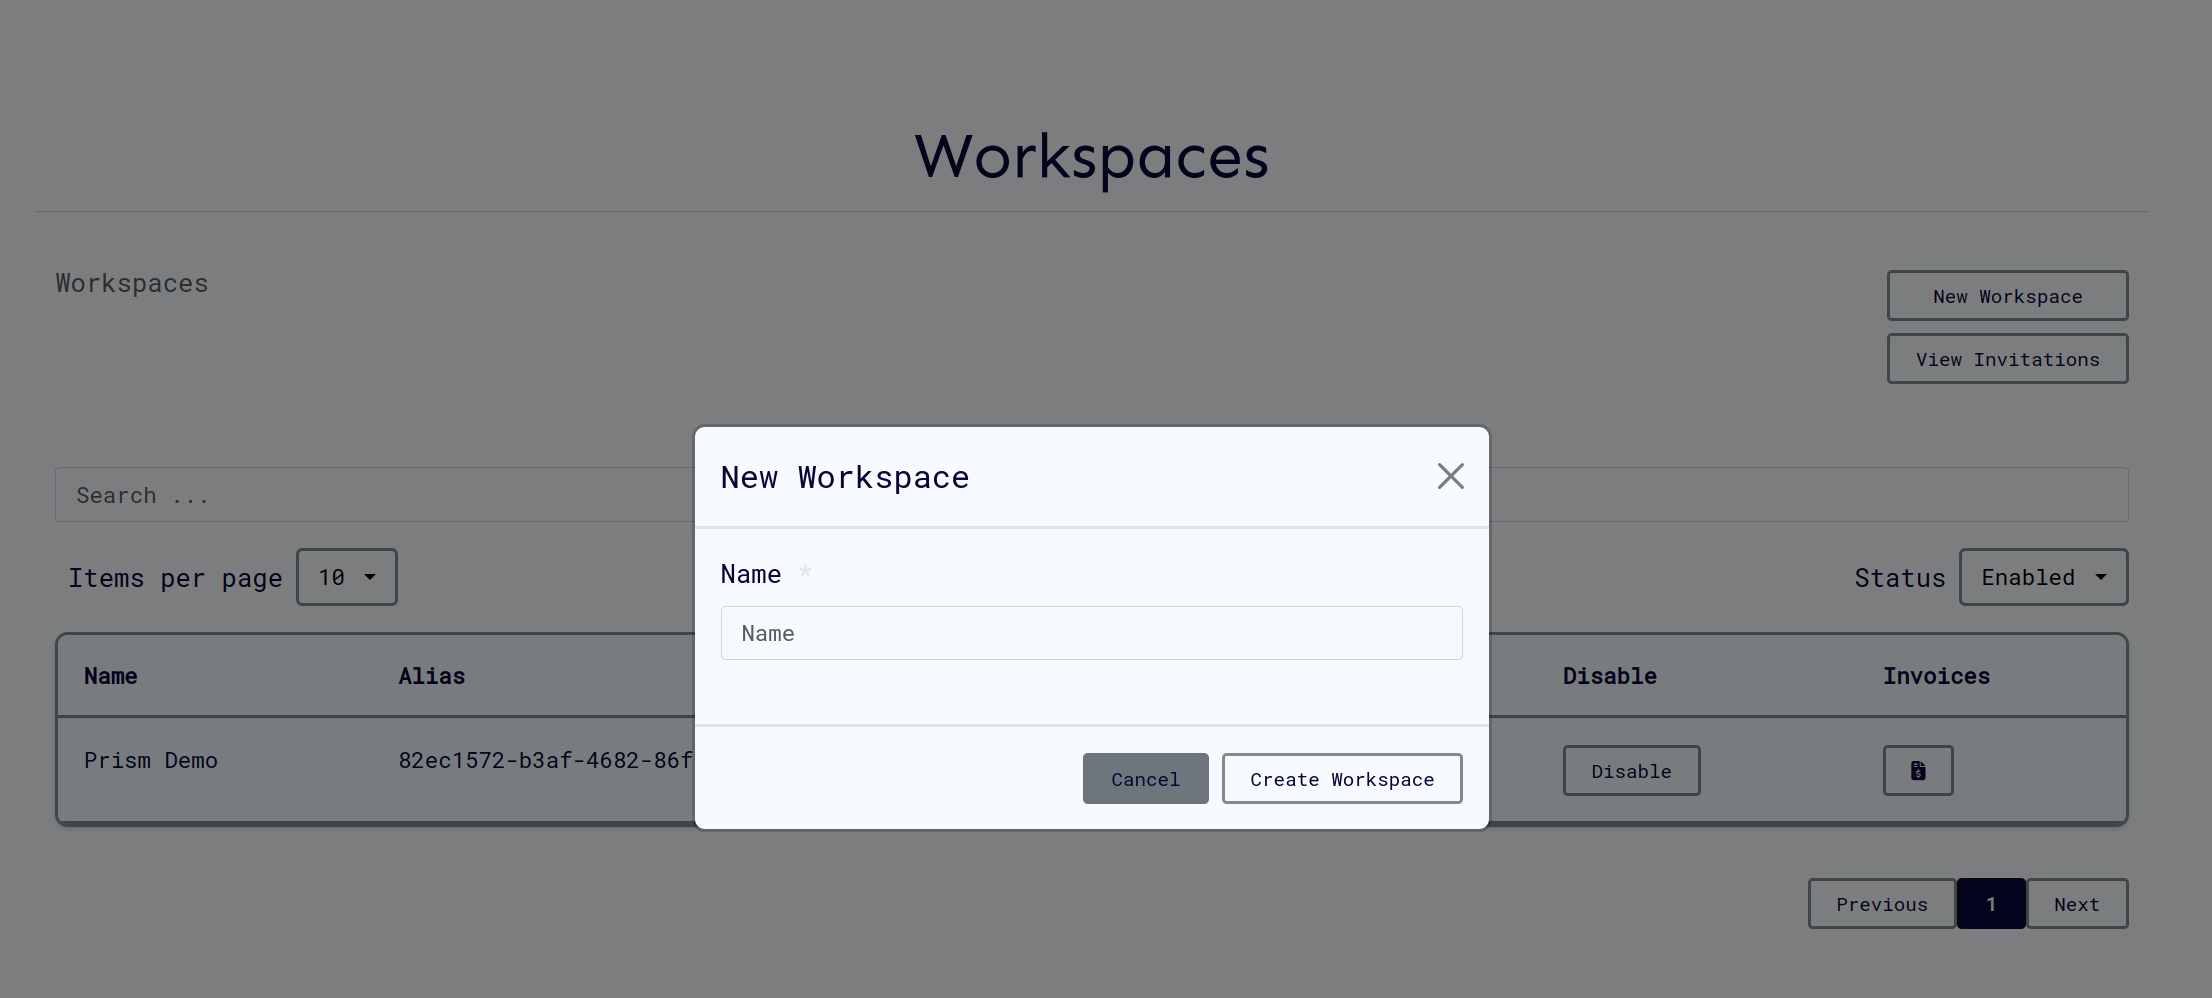
Creating a New Workspace
- From the workspaces page, click Create New Workspace
- Provide a descriptive workspace name
- Configure initial settings and permissions
- Click Create Workspace
Joining an Existing Workspace
If you've been invited to a workspace:
- Check your email for workspace invitation or login to prism
- Follow the invitation link
- Accept the invitation
- The workspace will appear in your workspace list
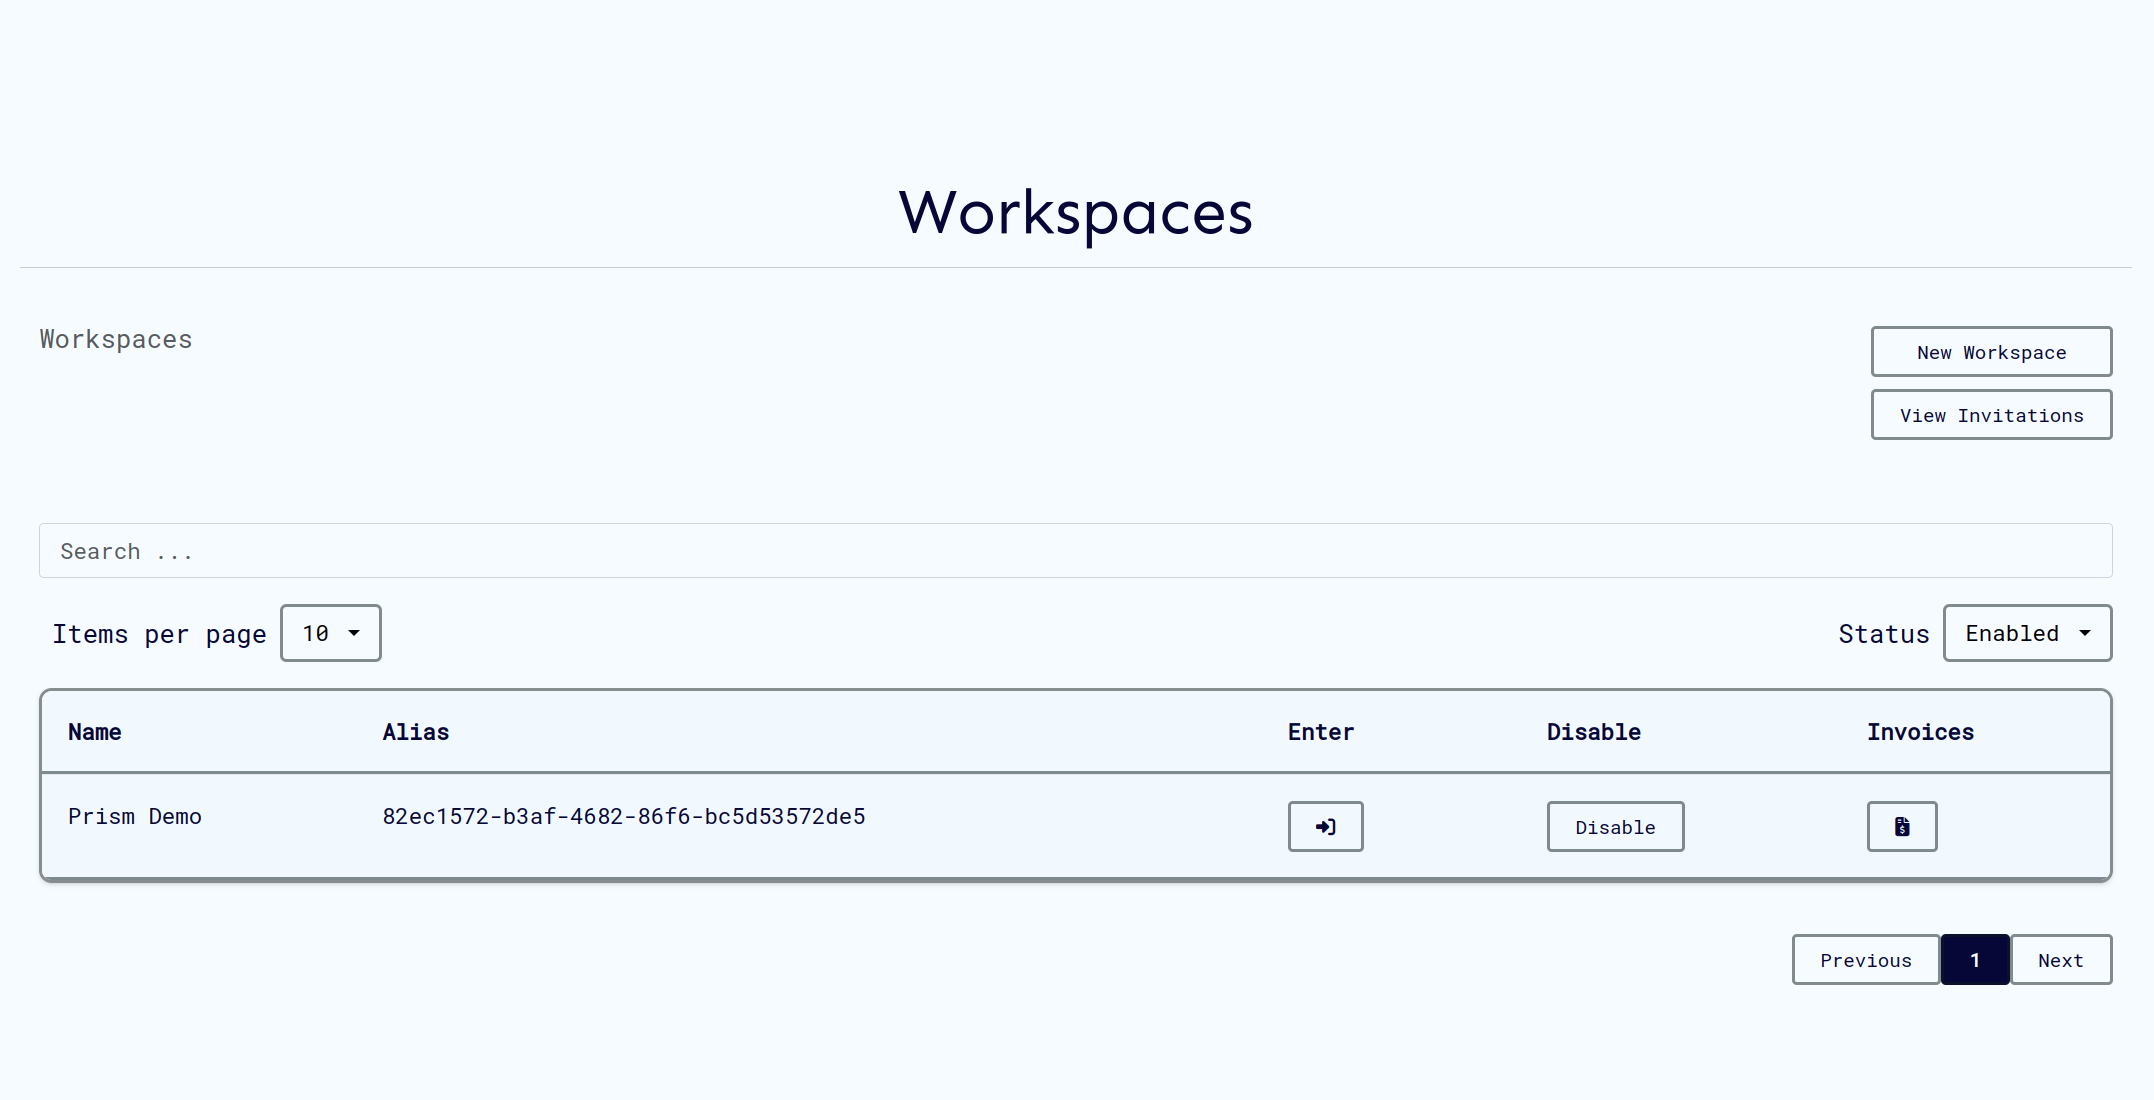
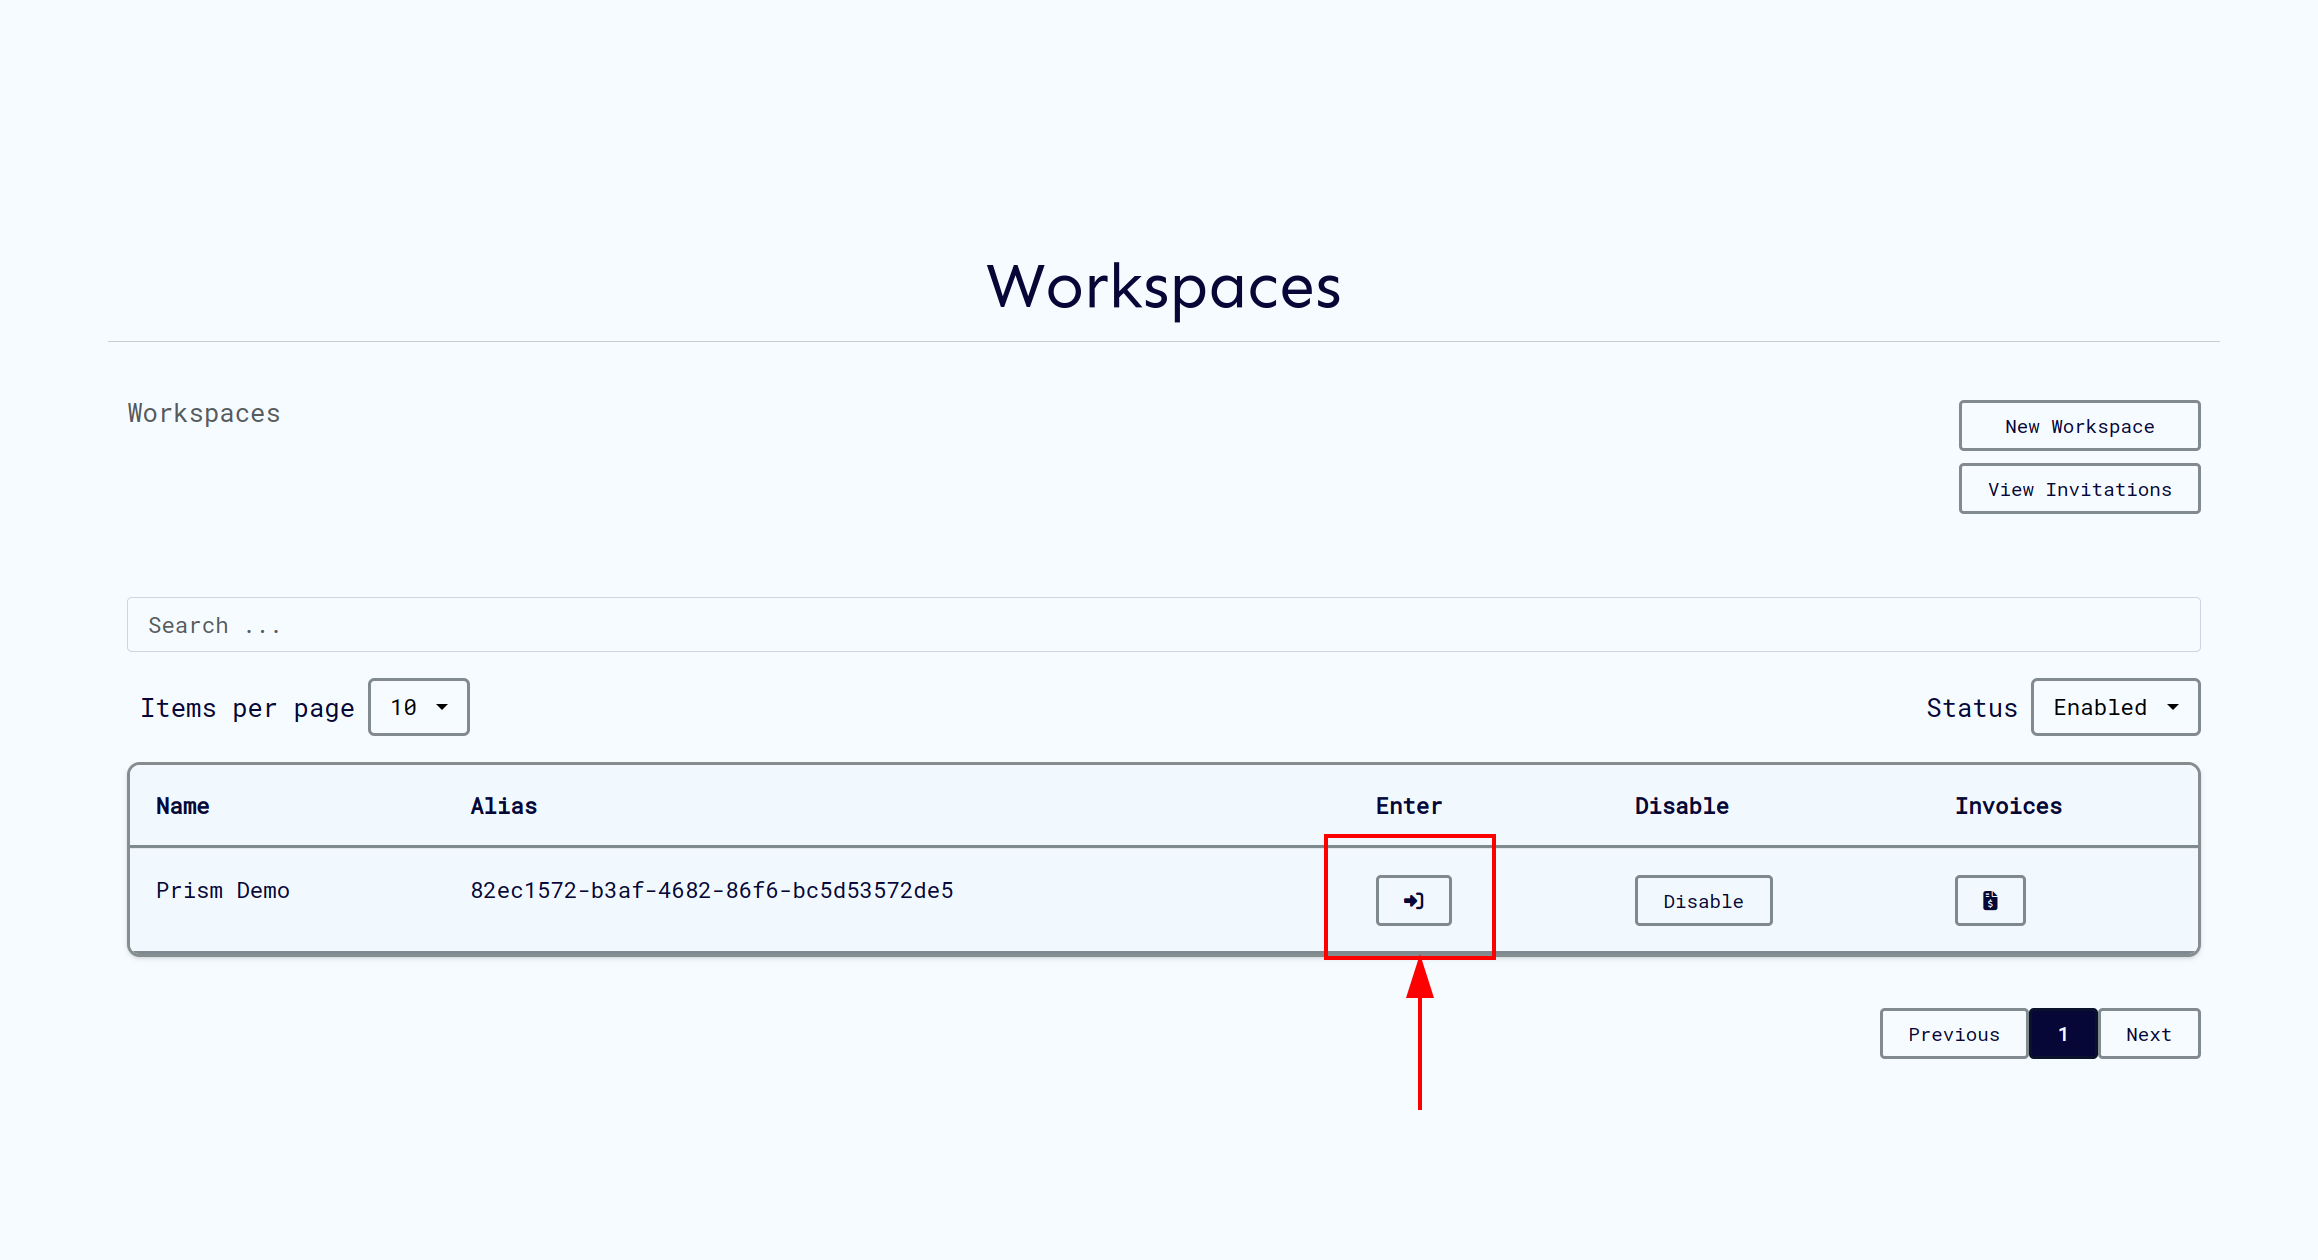
Accessing Your Workspace
- Select the desired workspace from your list
- Click Enter Workspace to access the dashboard
- You'll now have access to all workspace features
CVM (Confidential Virtual Machine) Setup
What are CVMs?
CVMs are secure, isolated computing environments that run inside Trusted Execution Environments (TEEs). They ensure your computations remain confidential even from the cloud provider.
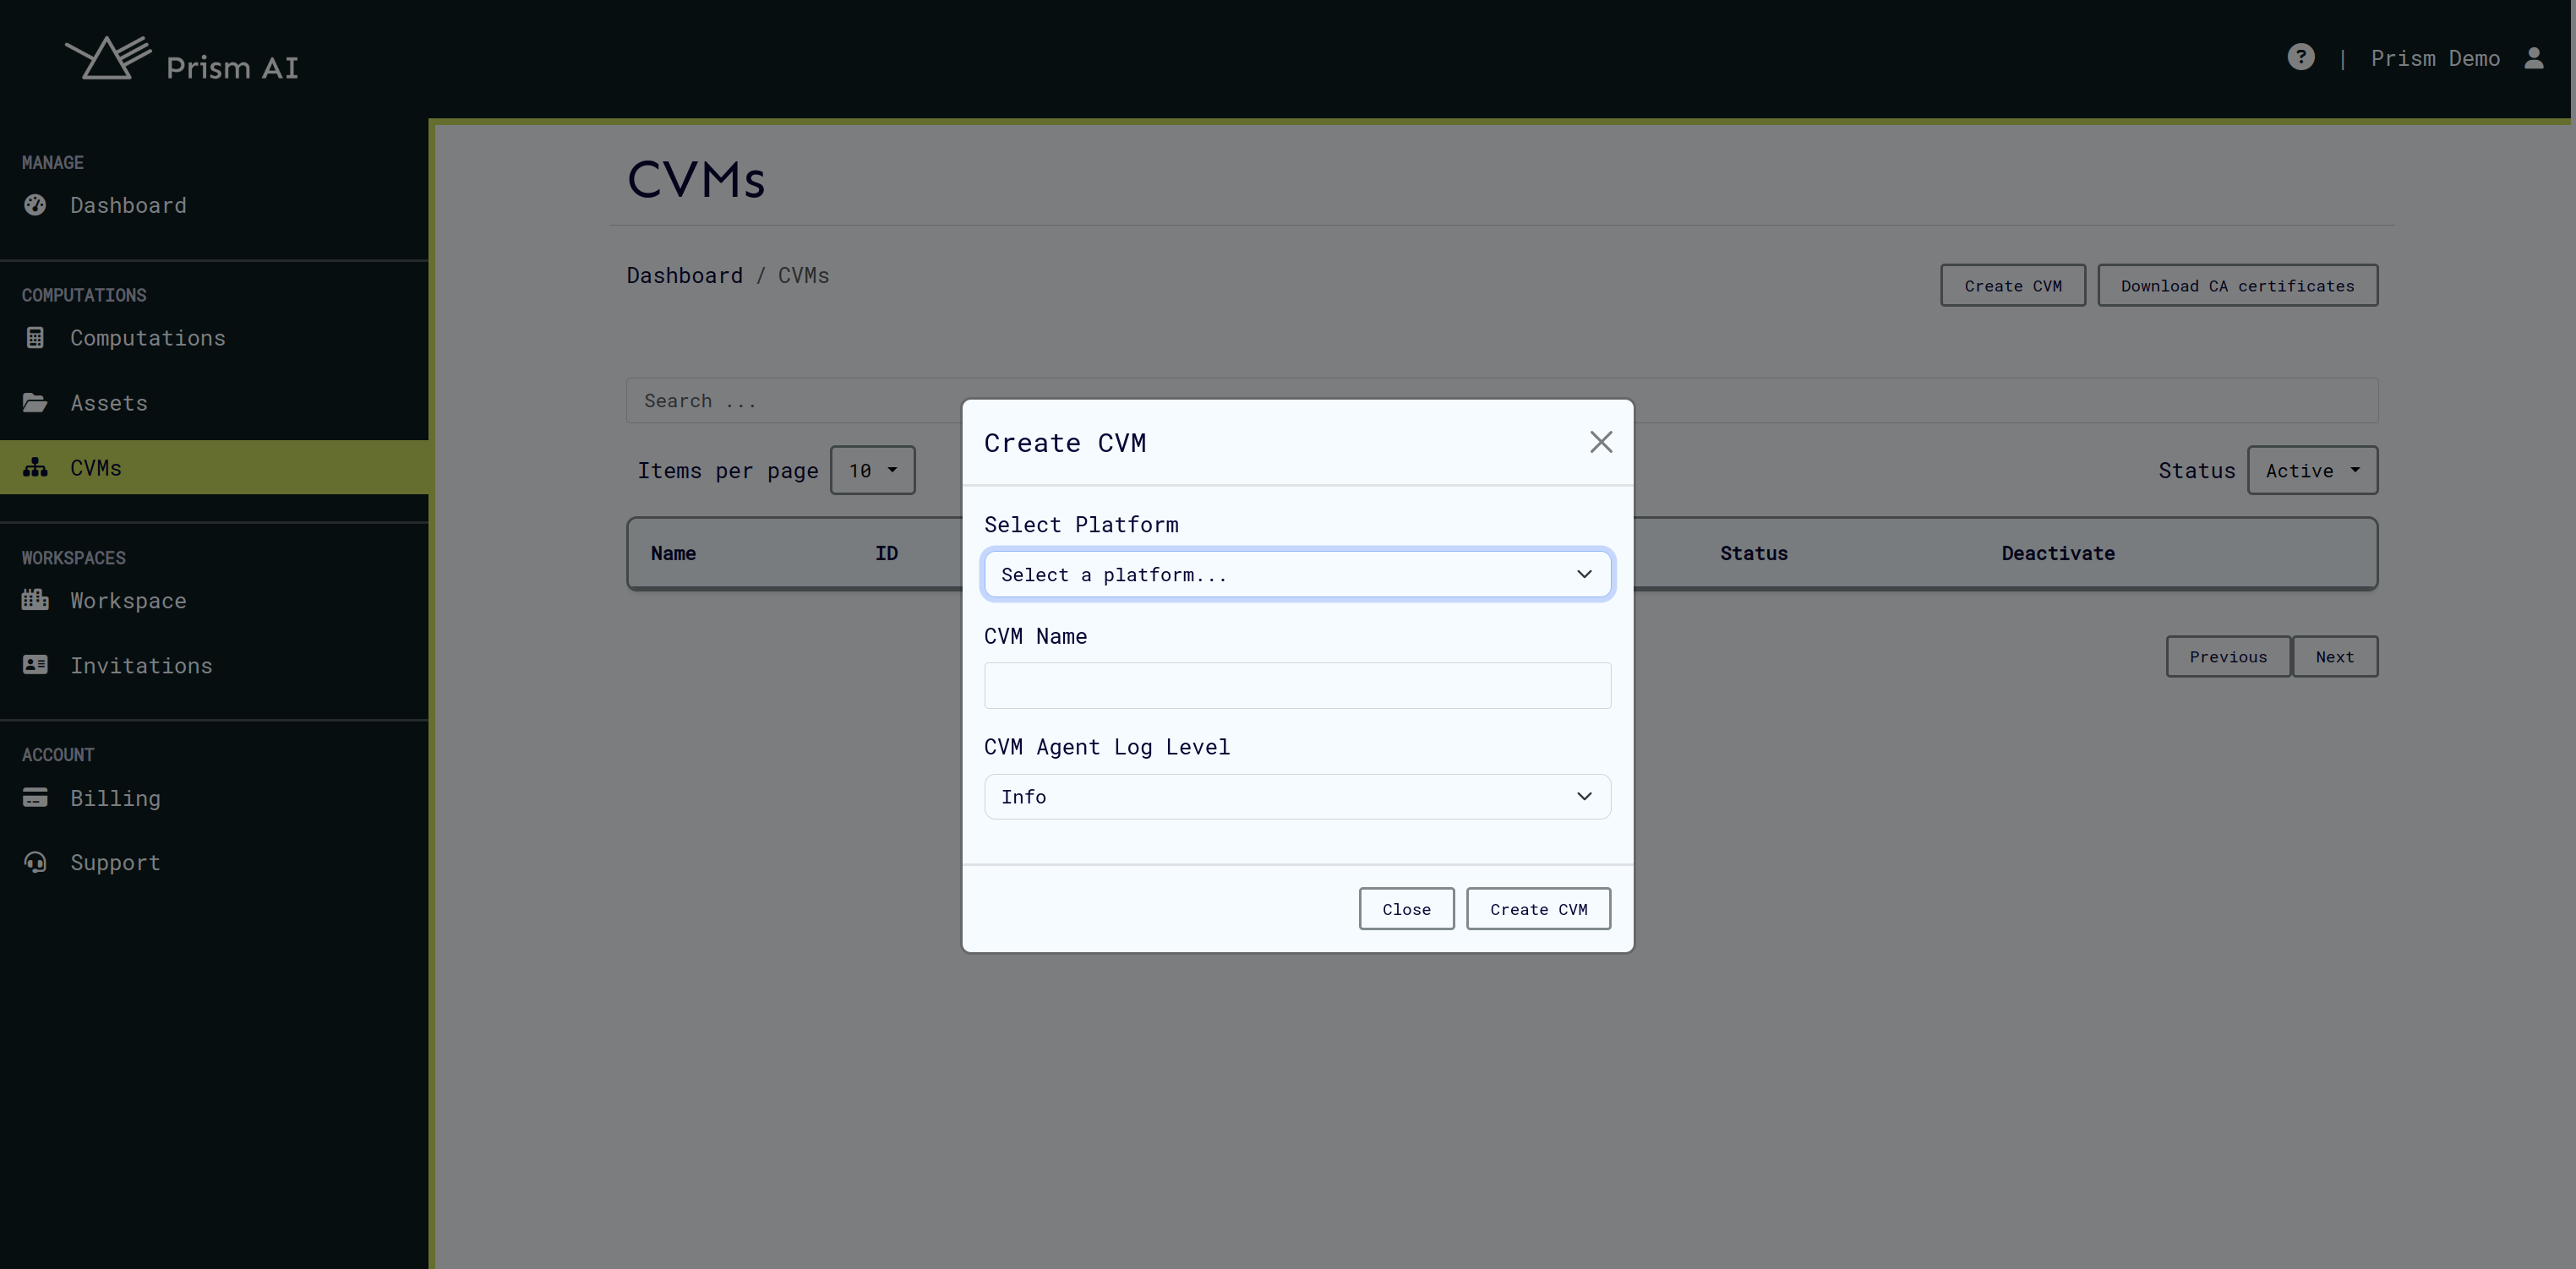
Creating Your First CVM
Prerequisites: You must have an active subscription with available backend providers (Azure, GCP, Ultraviolet, External).
- Navigate to CVMs section in your workspace
- Click Create New CVM
- Select your preferred backend provider
- Configure CVM specifications:
- Memory allocation
- CPU requirements
- TEE type (AMD SEV_SNP/Intel TDX)
- Click Create CVM
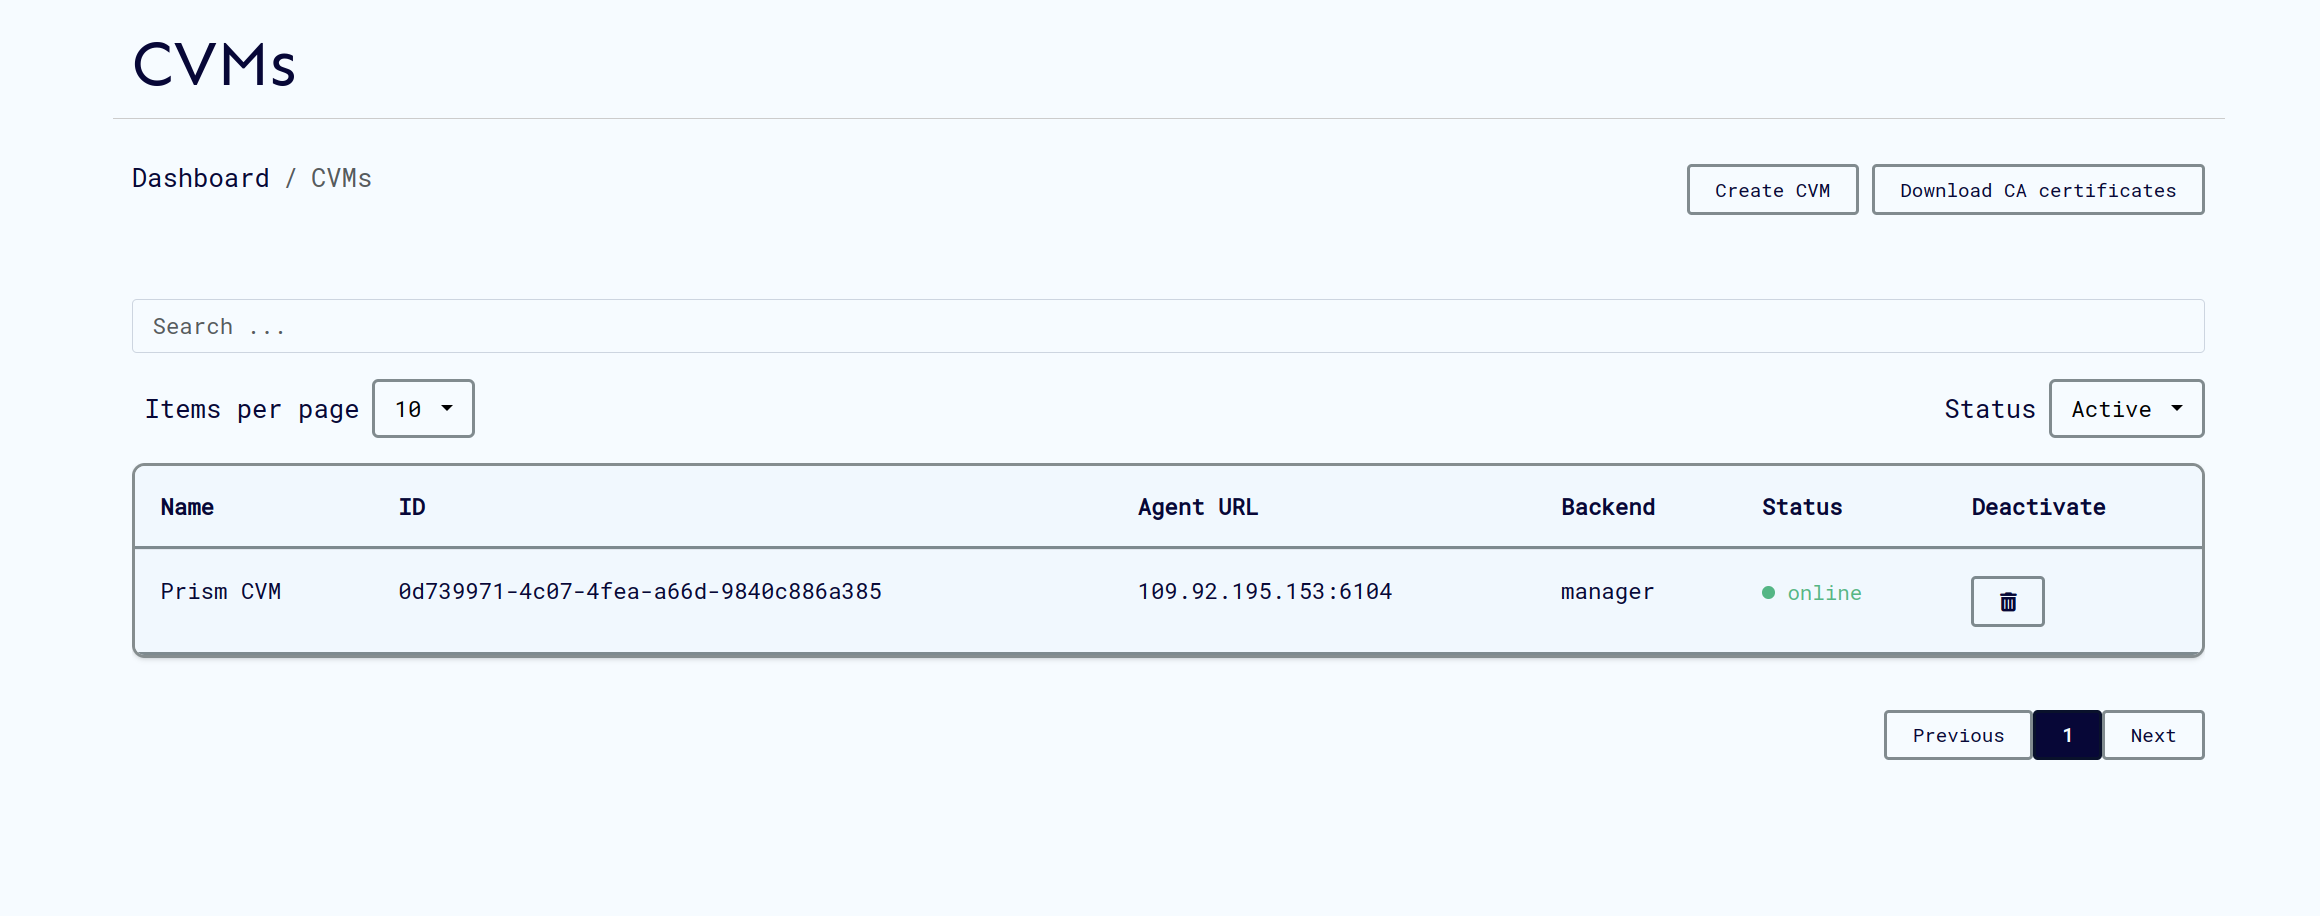
CVM Status Monitoring
After creation, your CVM will go through several states:
- Creating: Initial setup in progress
- Starting: CVM is booting up
- Online: Ready for computations
- Offline: Not available for use
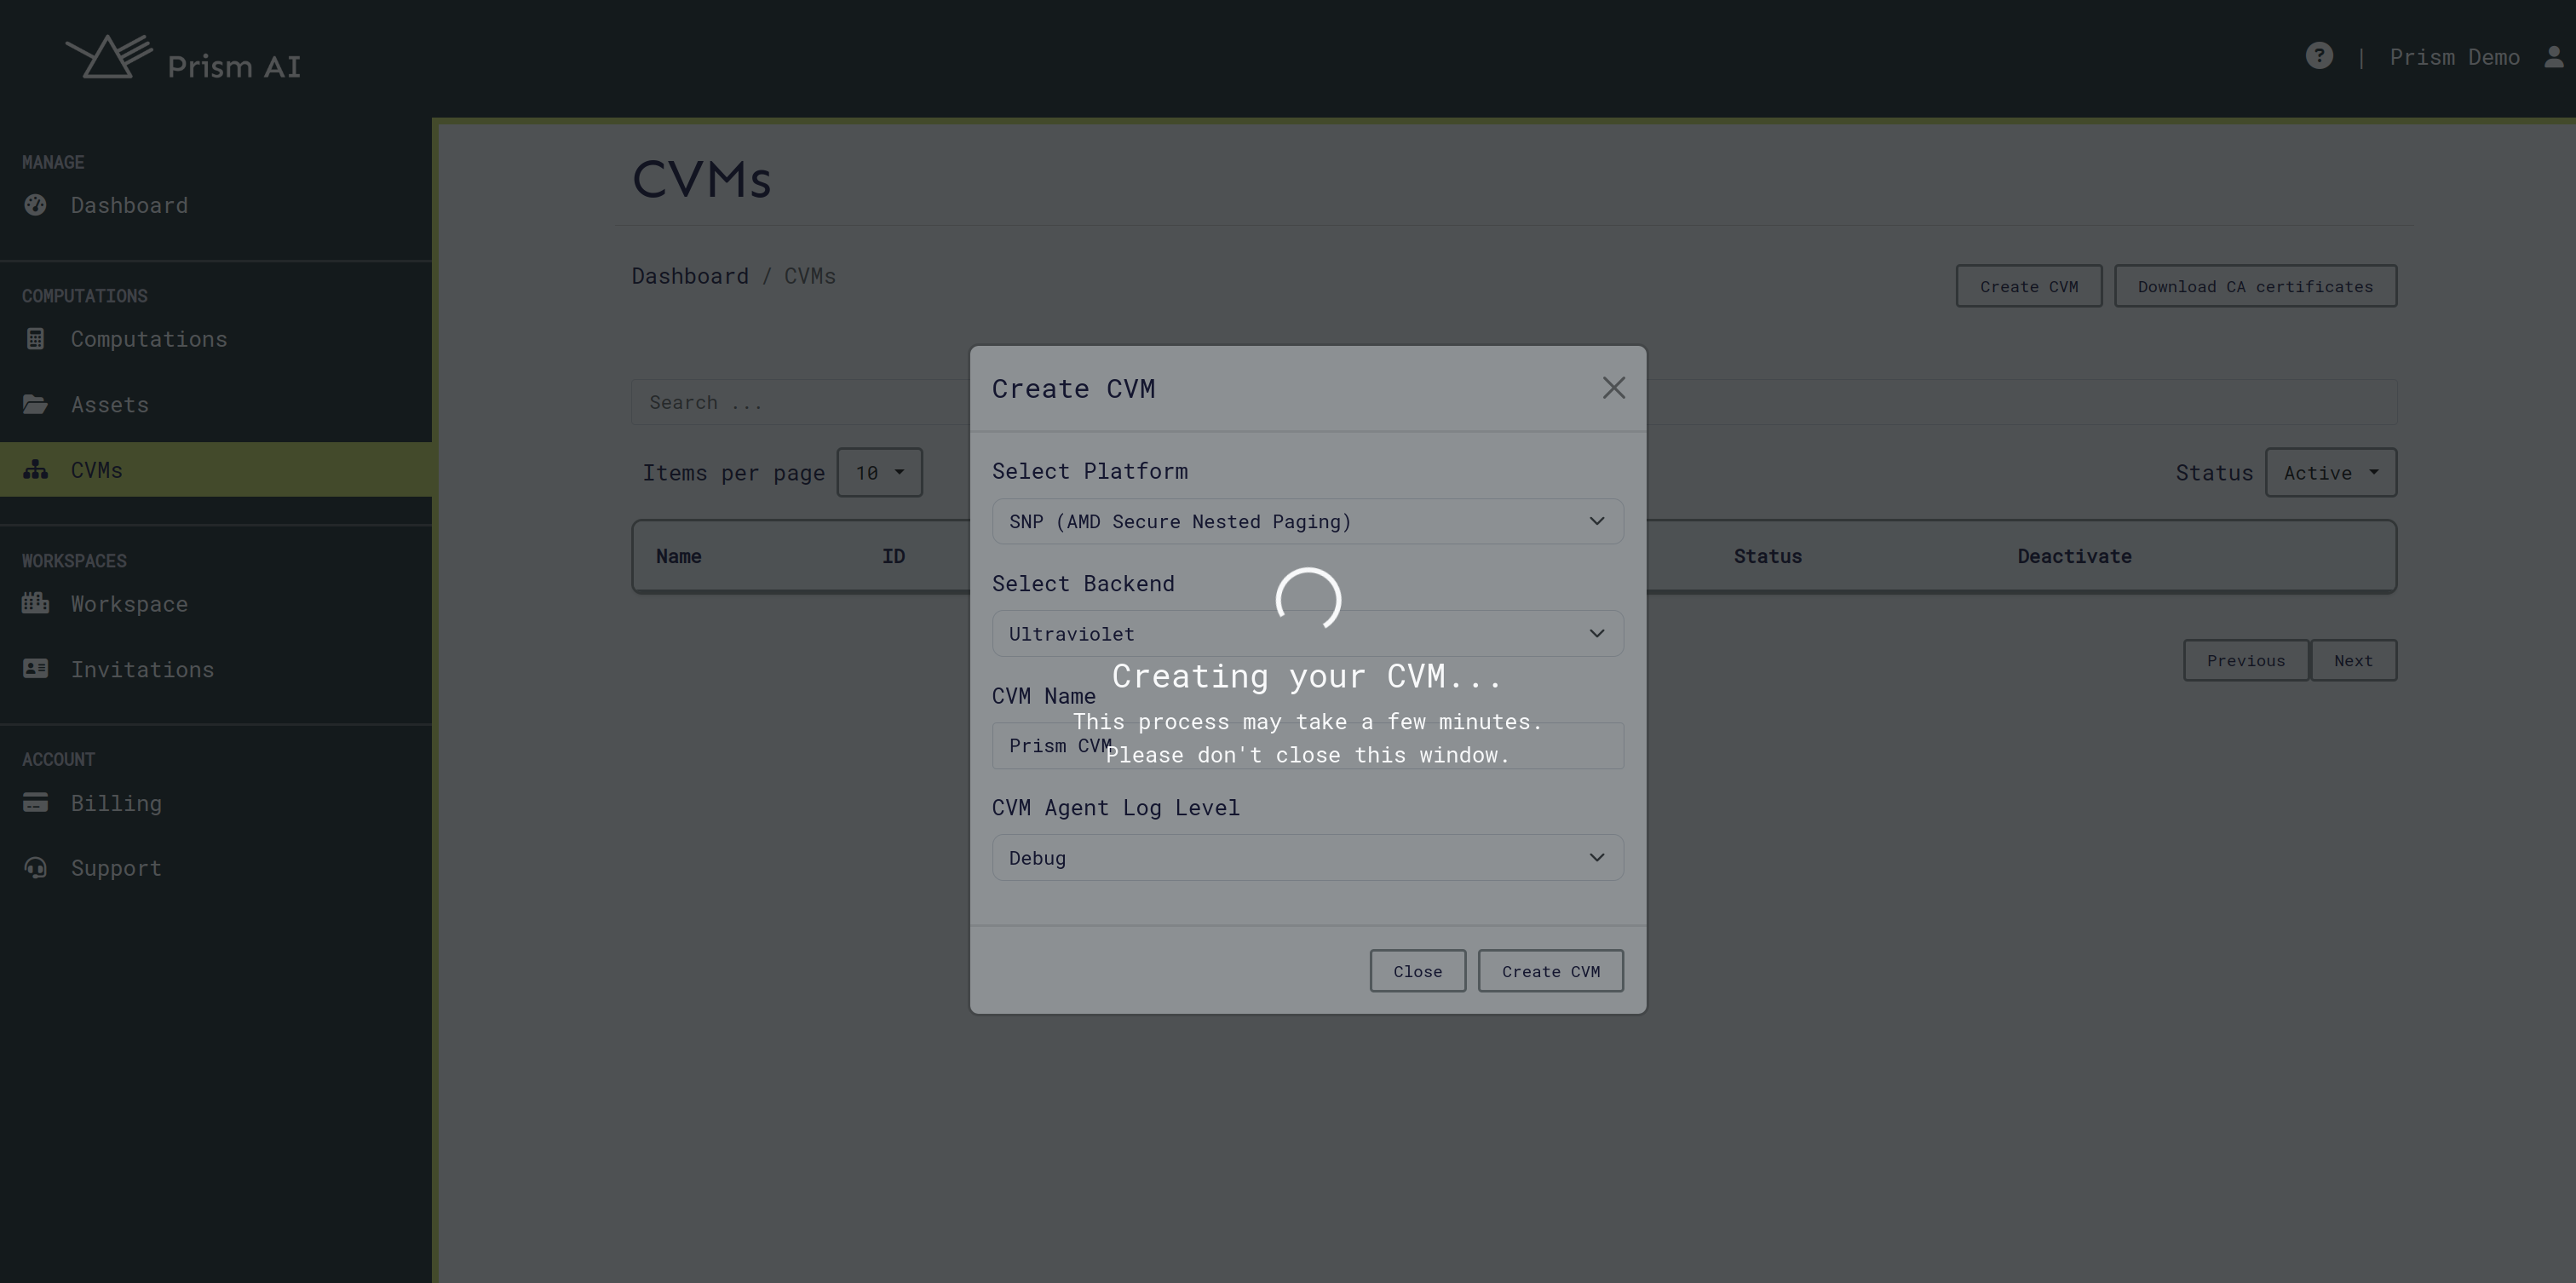
⏱️ Setup Time: CVMs typically come online within 2-5 minutes after creation or longer ~10 minutes for public cloud CVMs Azure/GCP.
Computation Management
Understanding Computations
A computation in Prism CoCoS involves multiple parties collaborating securely:
| Component | Role | Required | Description |
|---|---|---|---|
| Algorithm | Algorithm Provider | ✅ Required | The secure code to be executed |
| Dataset | Dataset Provider | ⚪ Optional | Training or input data (if needed) |
| Result Consumer | Result Consumer | ✅ Required | Party authorized to retrieve results |
Creating a Computation
- Navigate to Computations in your workspace
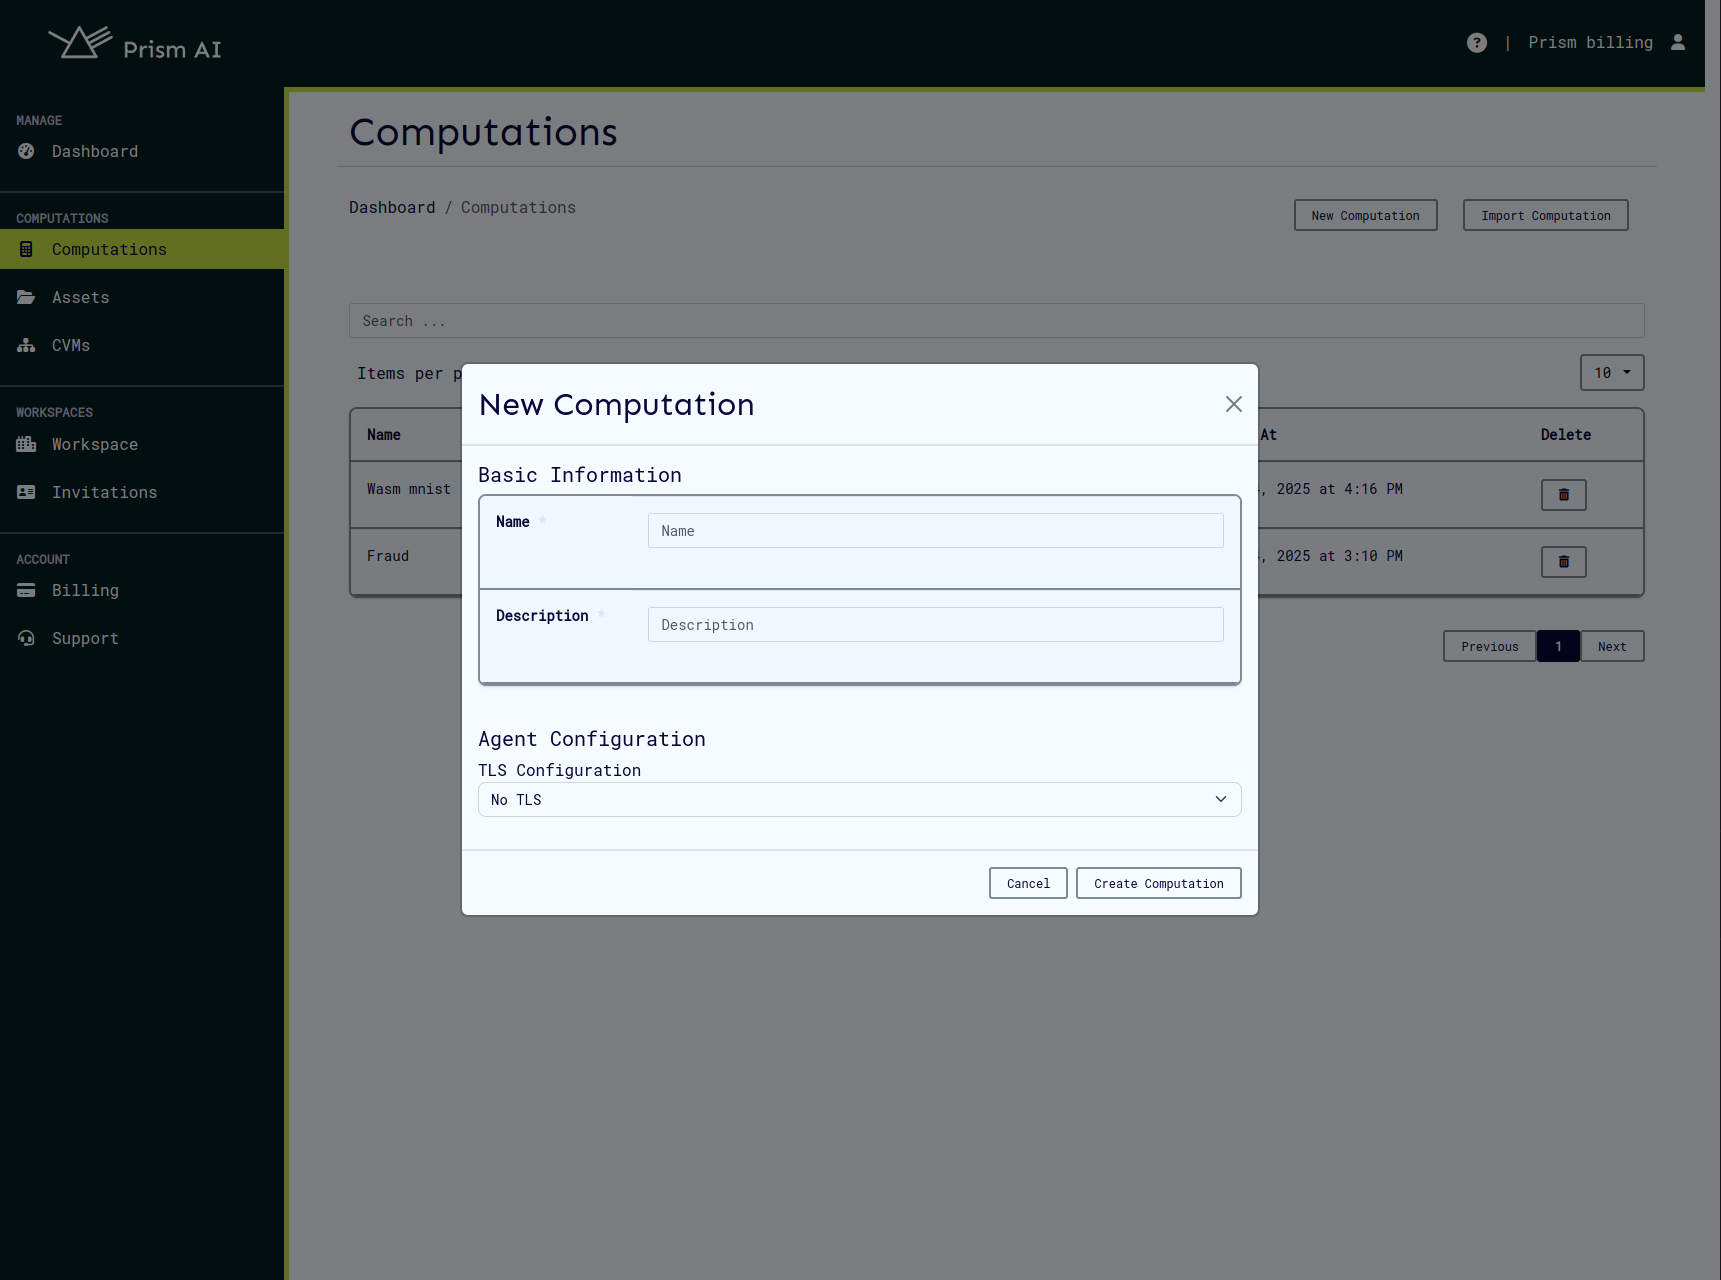
- Click New Computation
- Fill in computation details:
- Name: Descriptive computation name
- Description: Purpose and expected outcomes
- Agent Configuration: In enclave agent TLS configurations
Setting Up User Roles
Step 1: Navigate to Roles
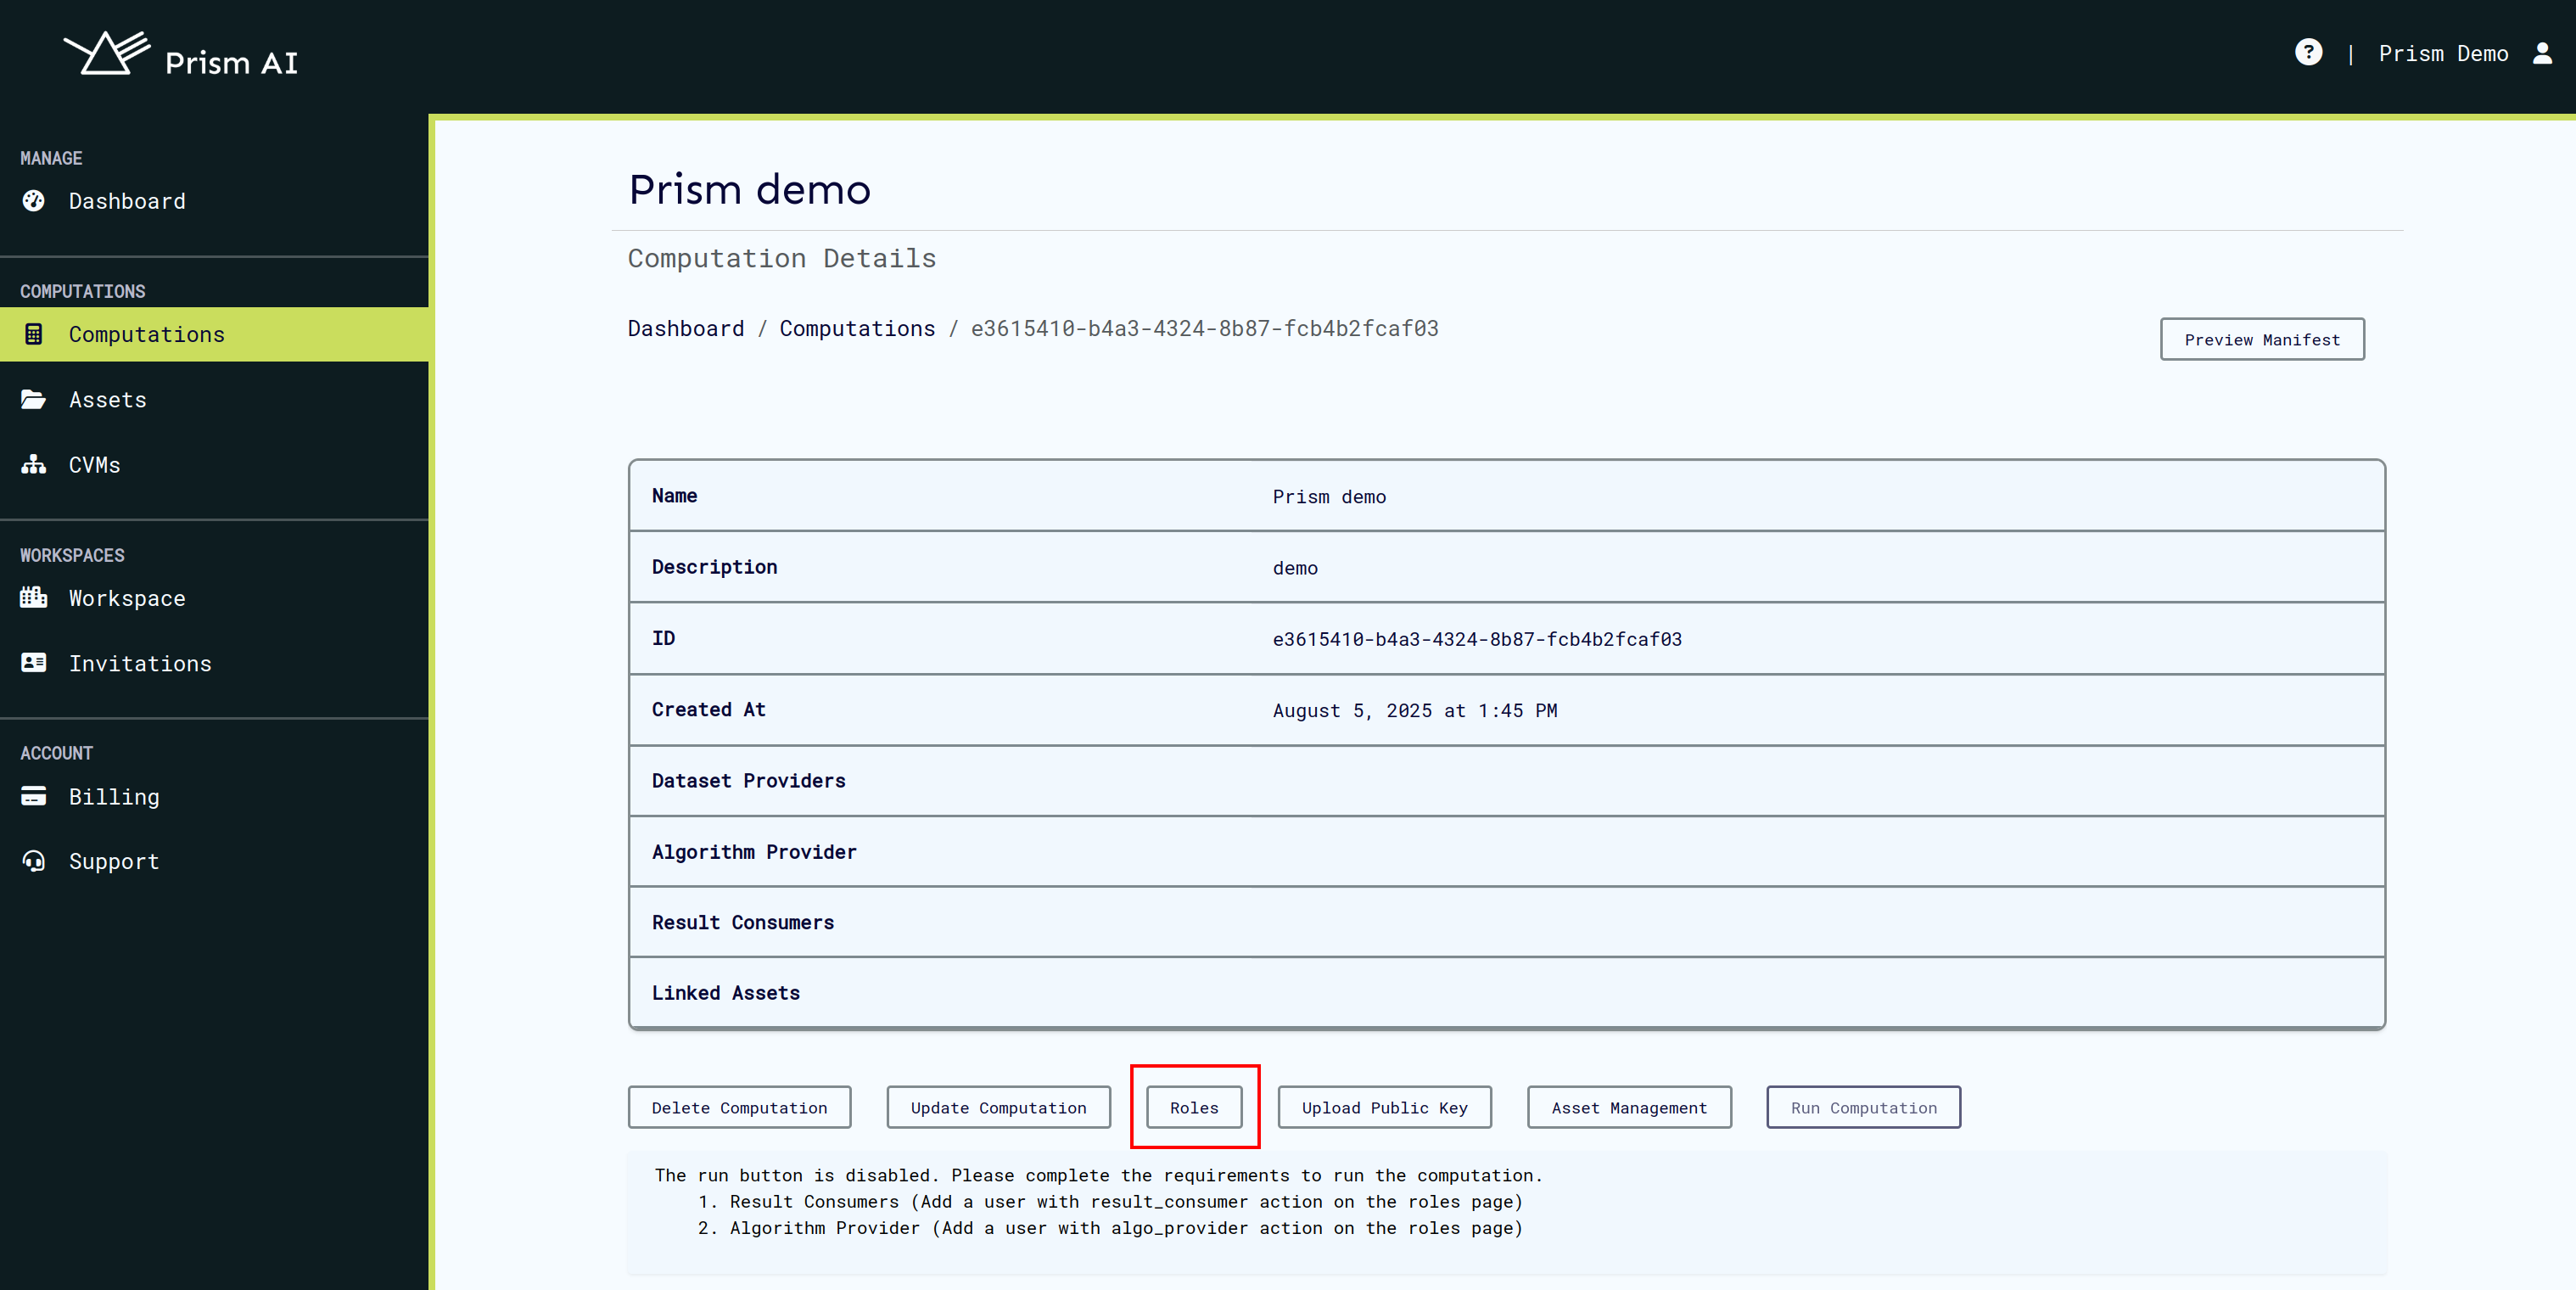
- Go to your computation's details page
- Click on Roles tab
Step 2: Assign User Roles
- Select the role you want to populate (Algorithm Provider, Dataset Provider, or Result Consumer)
- Click Add Members
- Search for workspace users
- Select users and confirm assignment

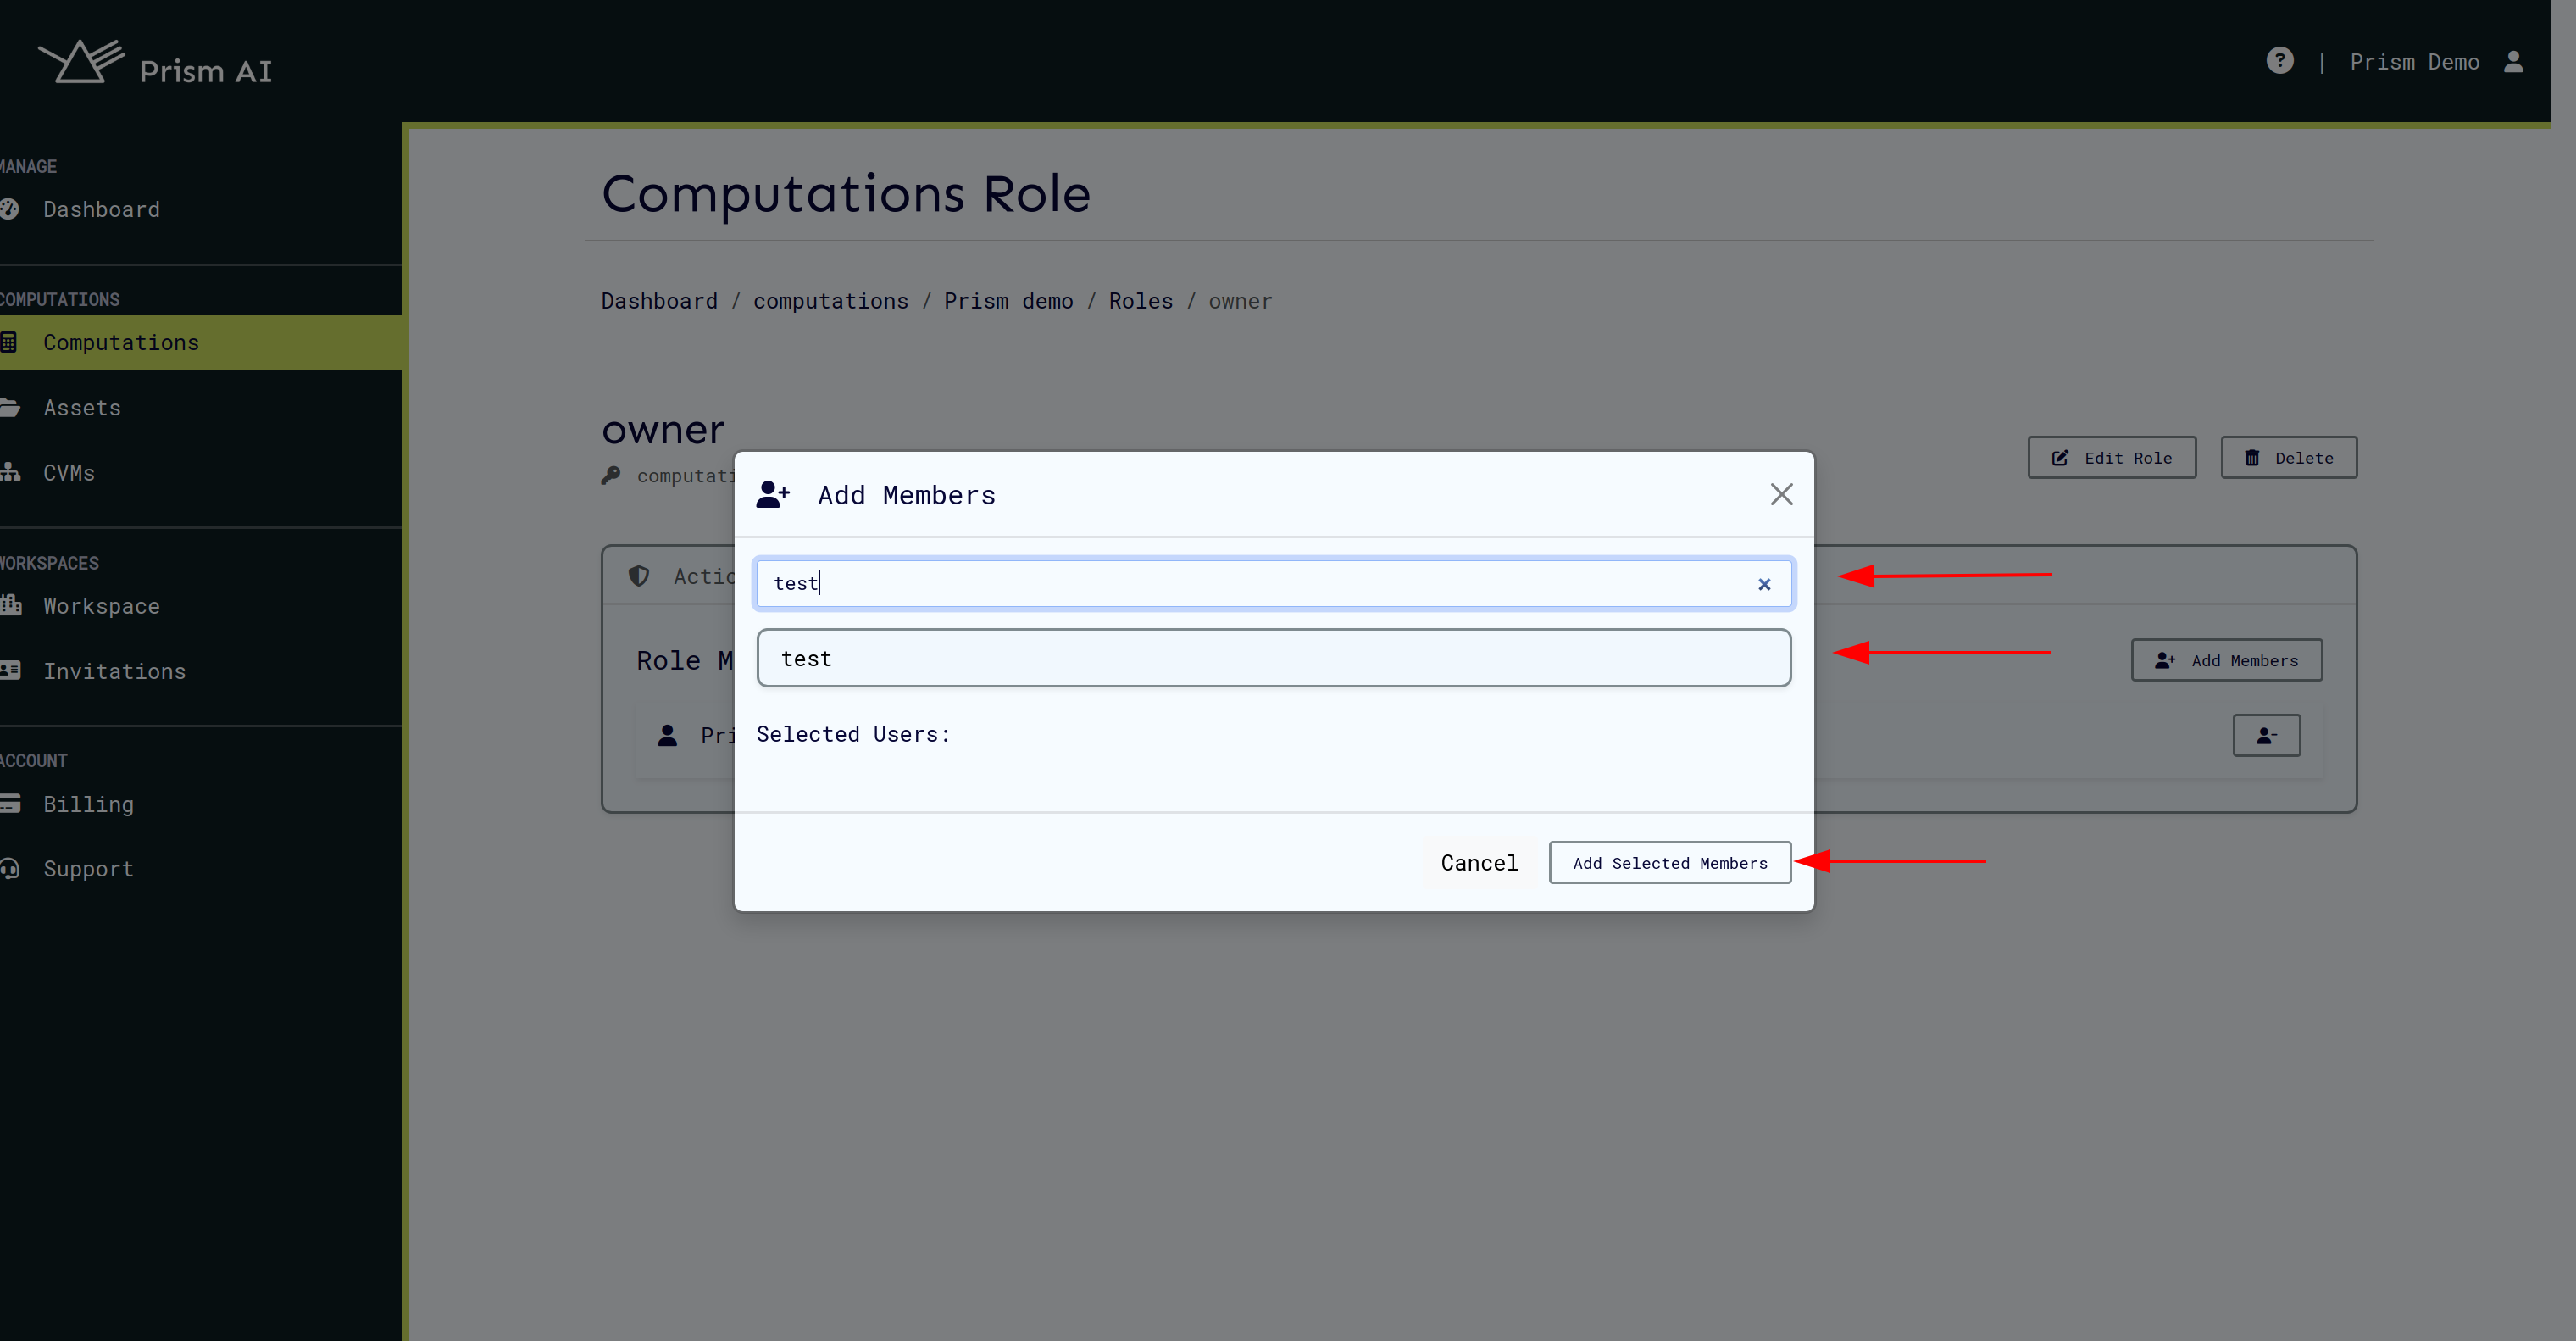
📝 Note: Users must already be invited to the workspace before they can be assigned computation roles. A user cannot belong to more than one role, to add permissions you should actions on the required role.
Managing Computation Assets
Creating Assets
Users assigned to roles must create their respective assets:
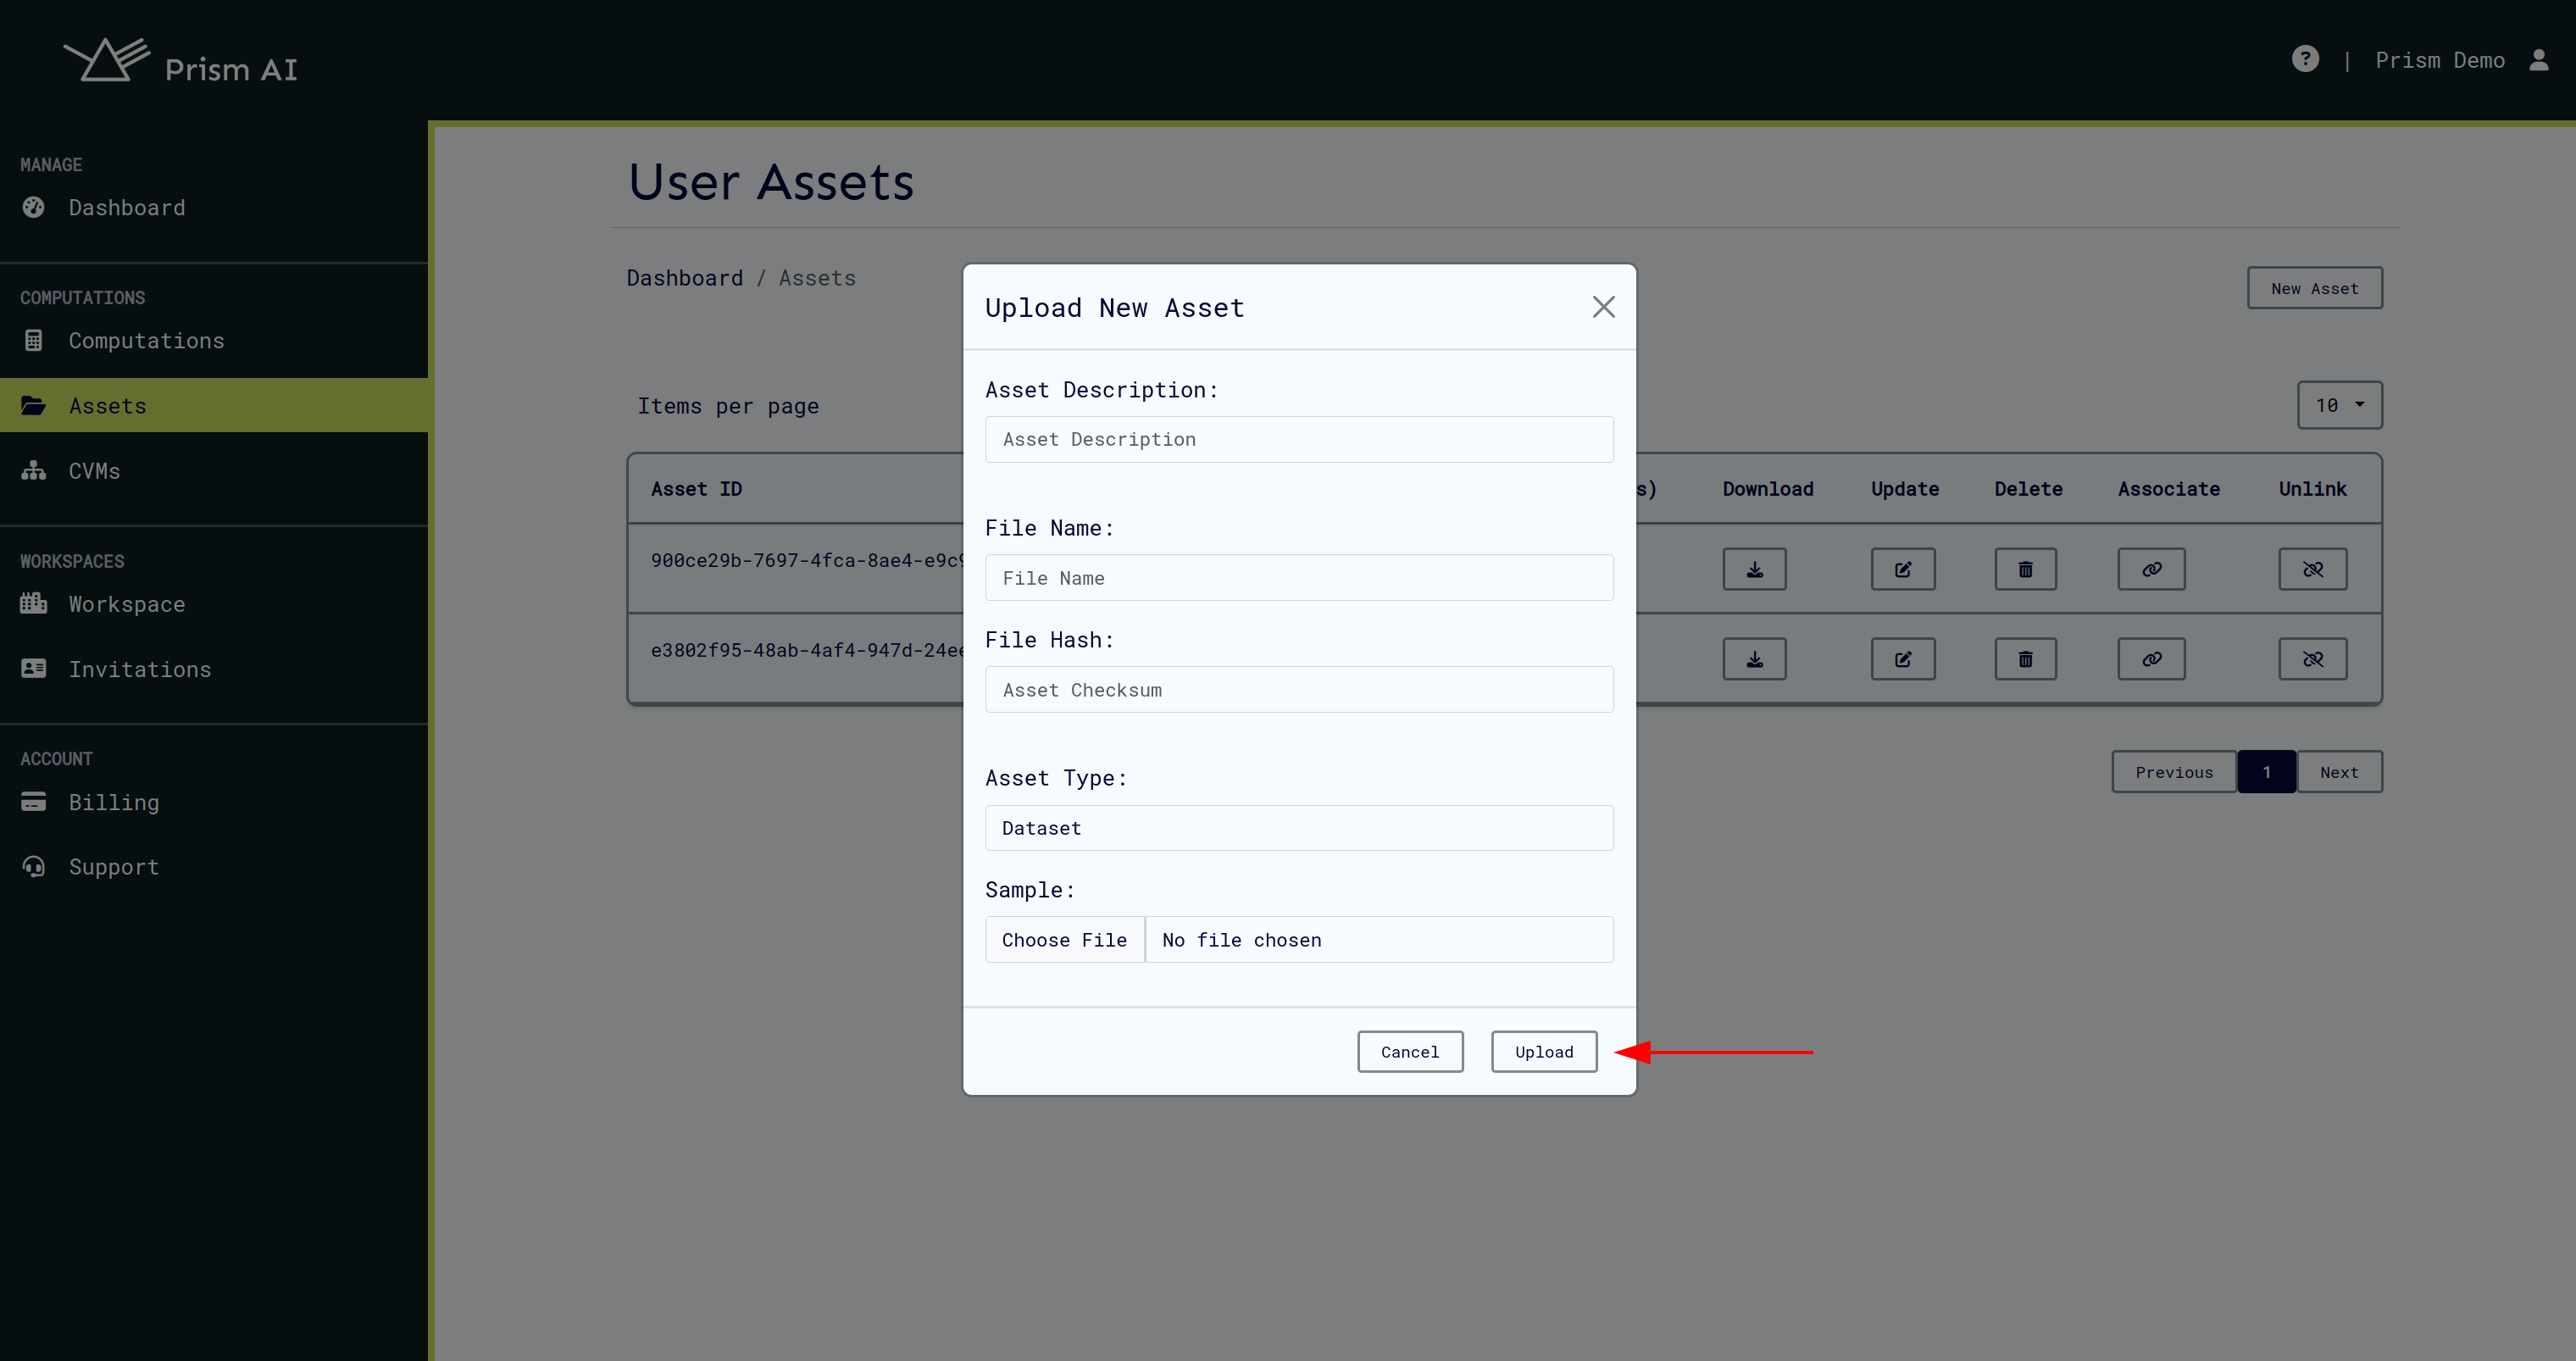
- Navigate to Assets section
- Click Create New Asset
- Choose asset type (Algorithm, Dataset, etc.)
- Upload an optional sample of the asset
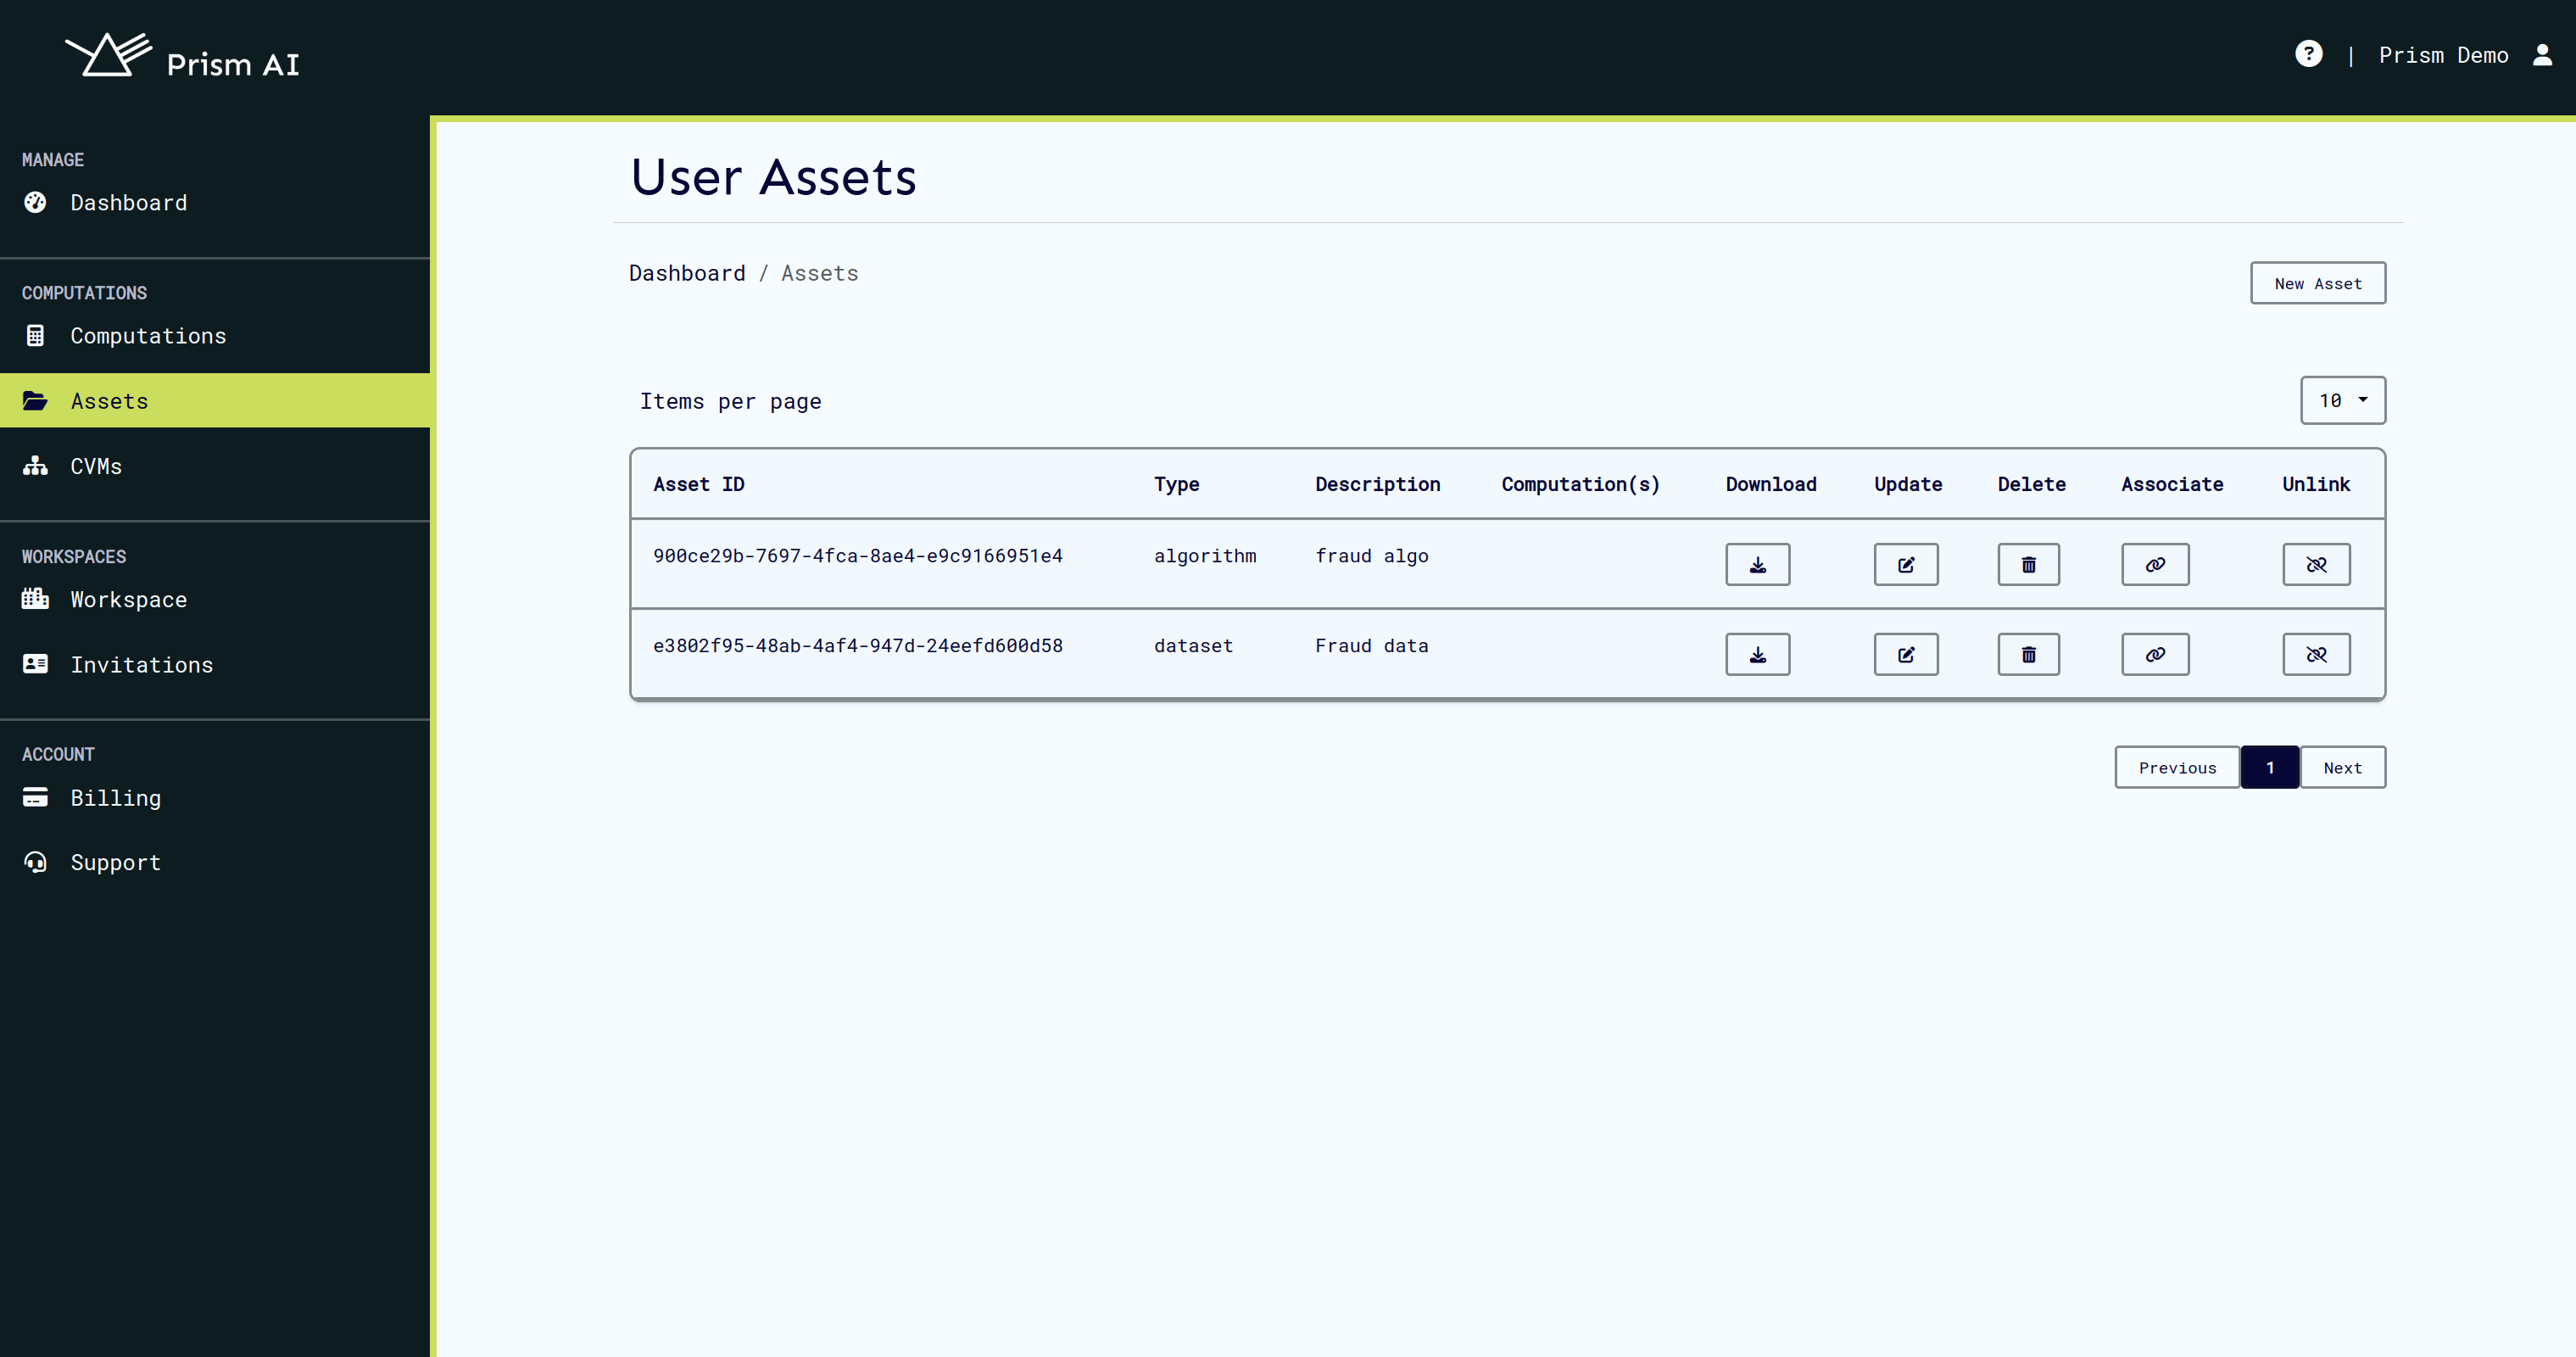
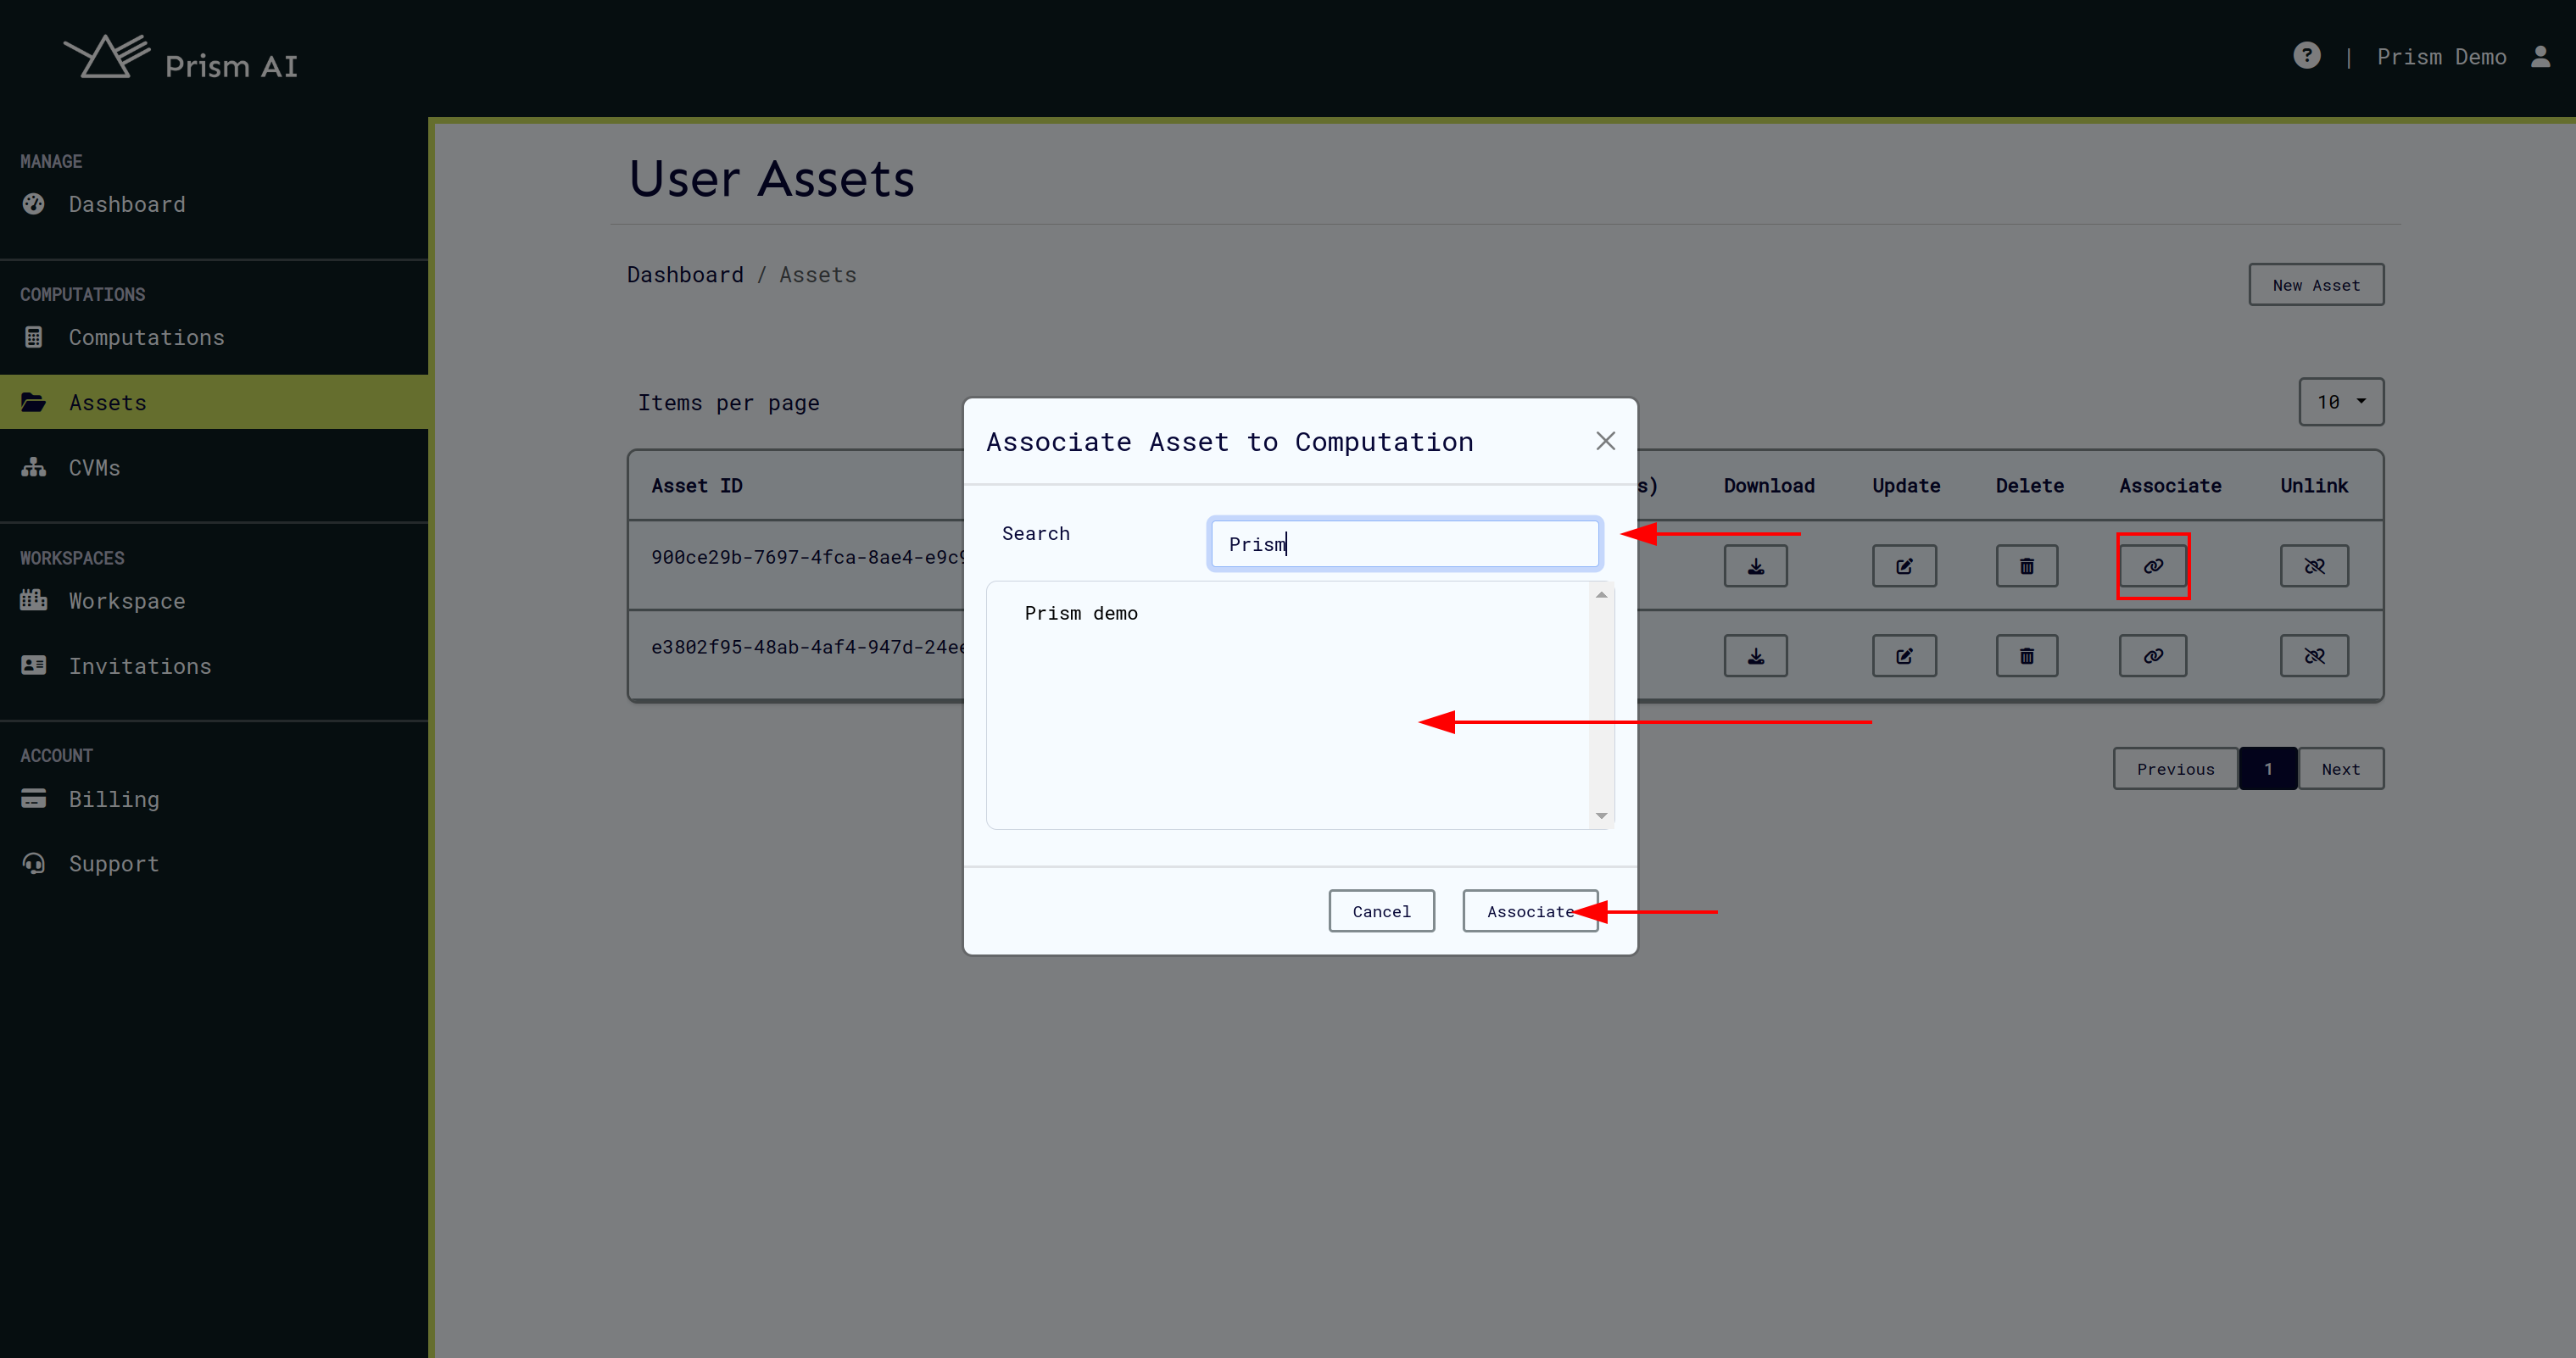
Linking Assets to Computations
- From your assets page, find the relevant asset
- Click Link to Computation
- Search and select the target computation
- Confirm the association
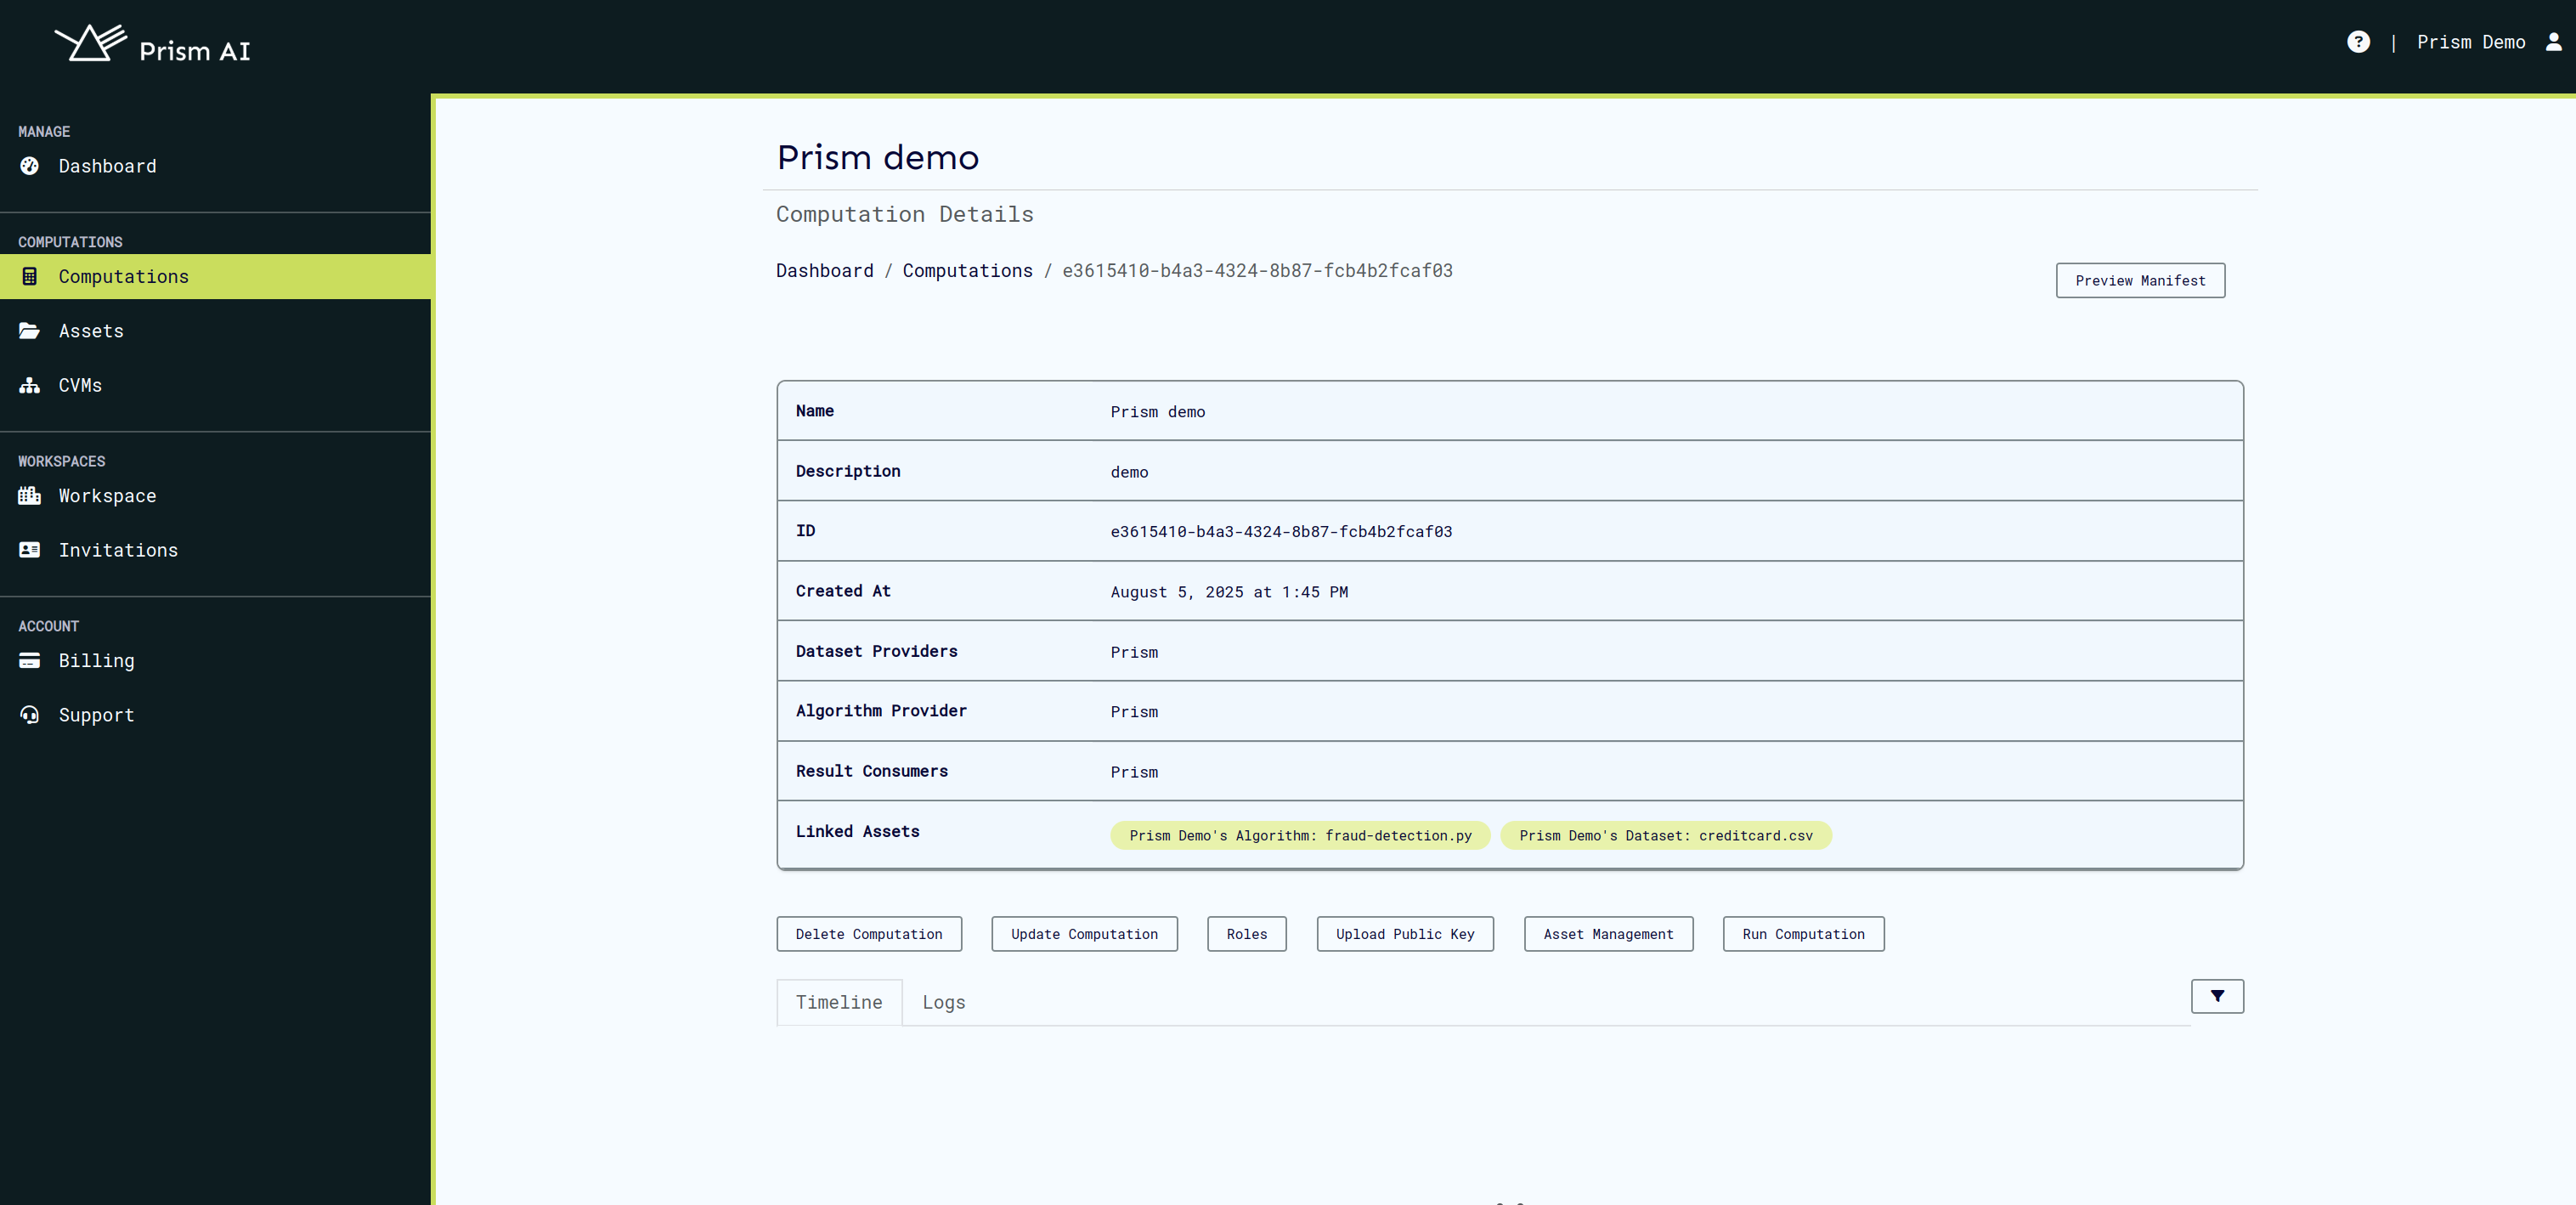
Running Computations
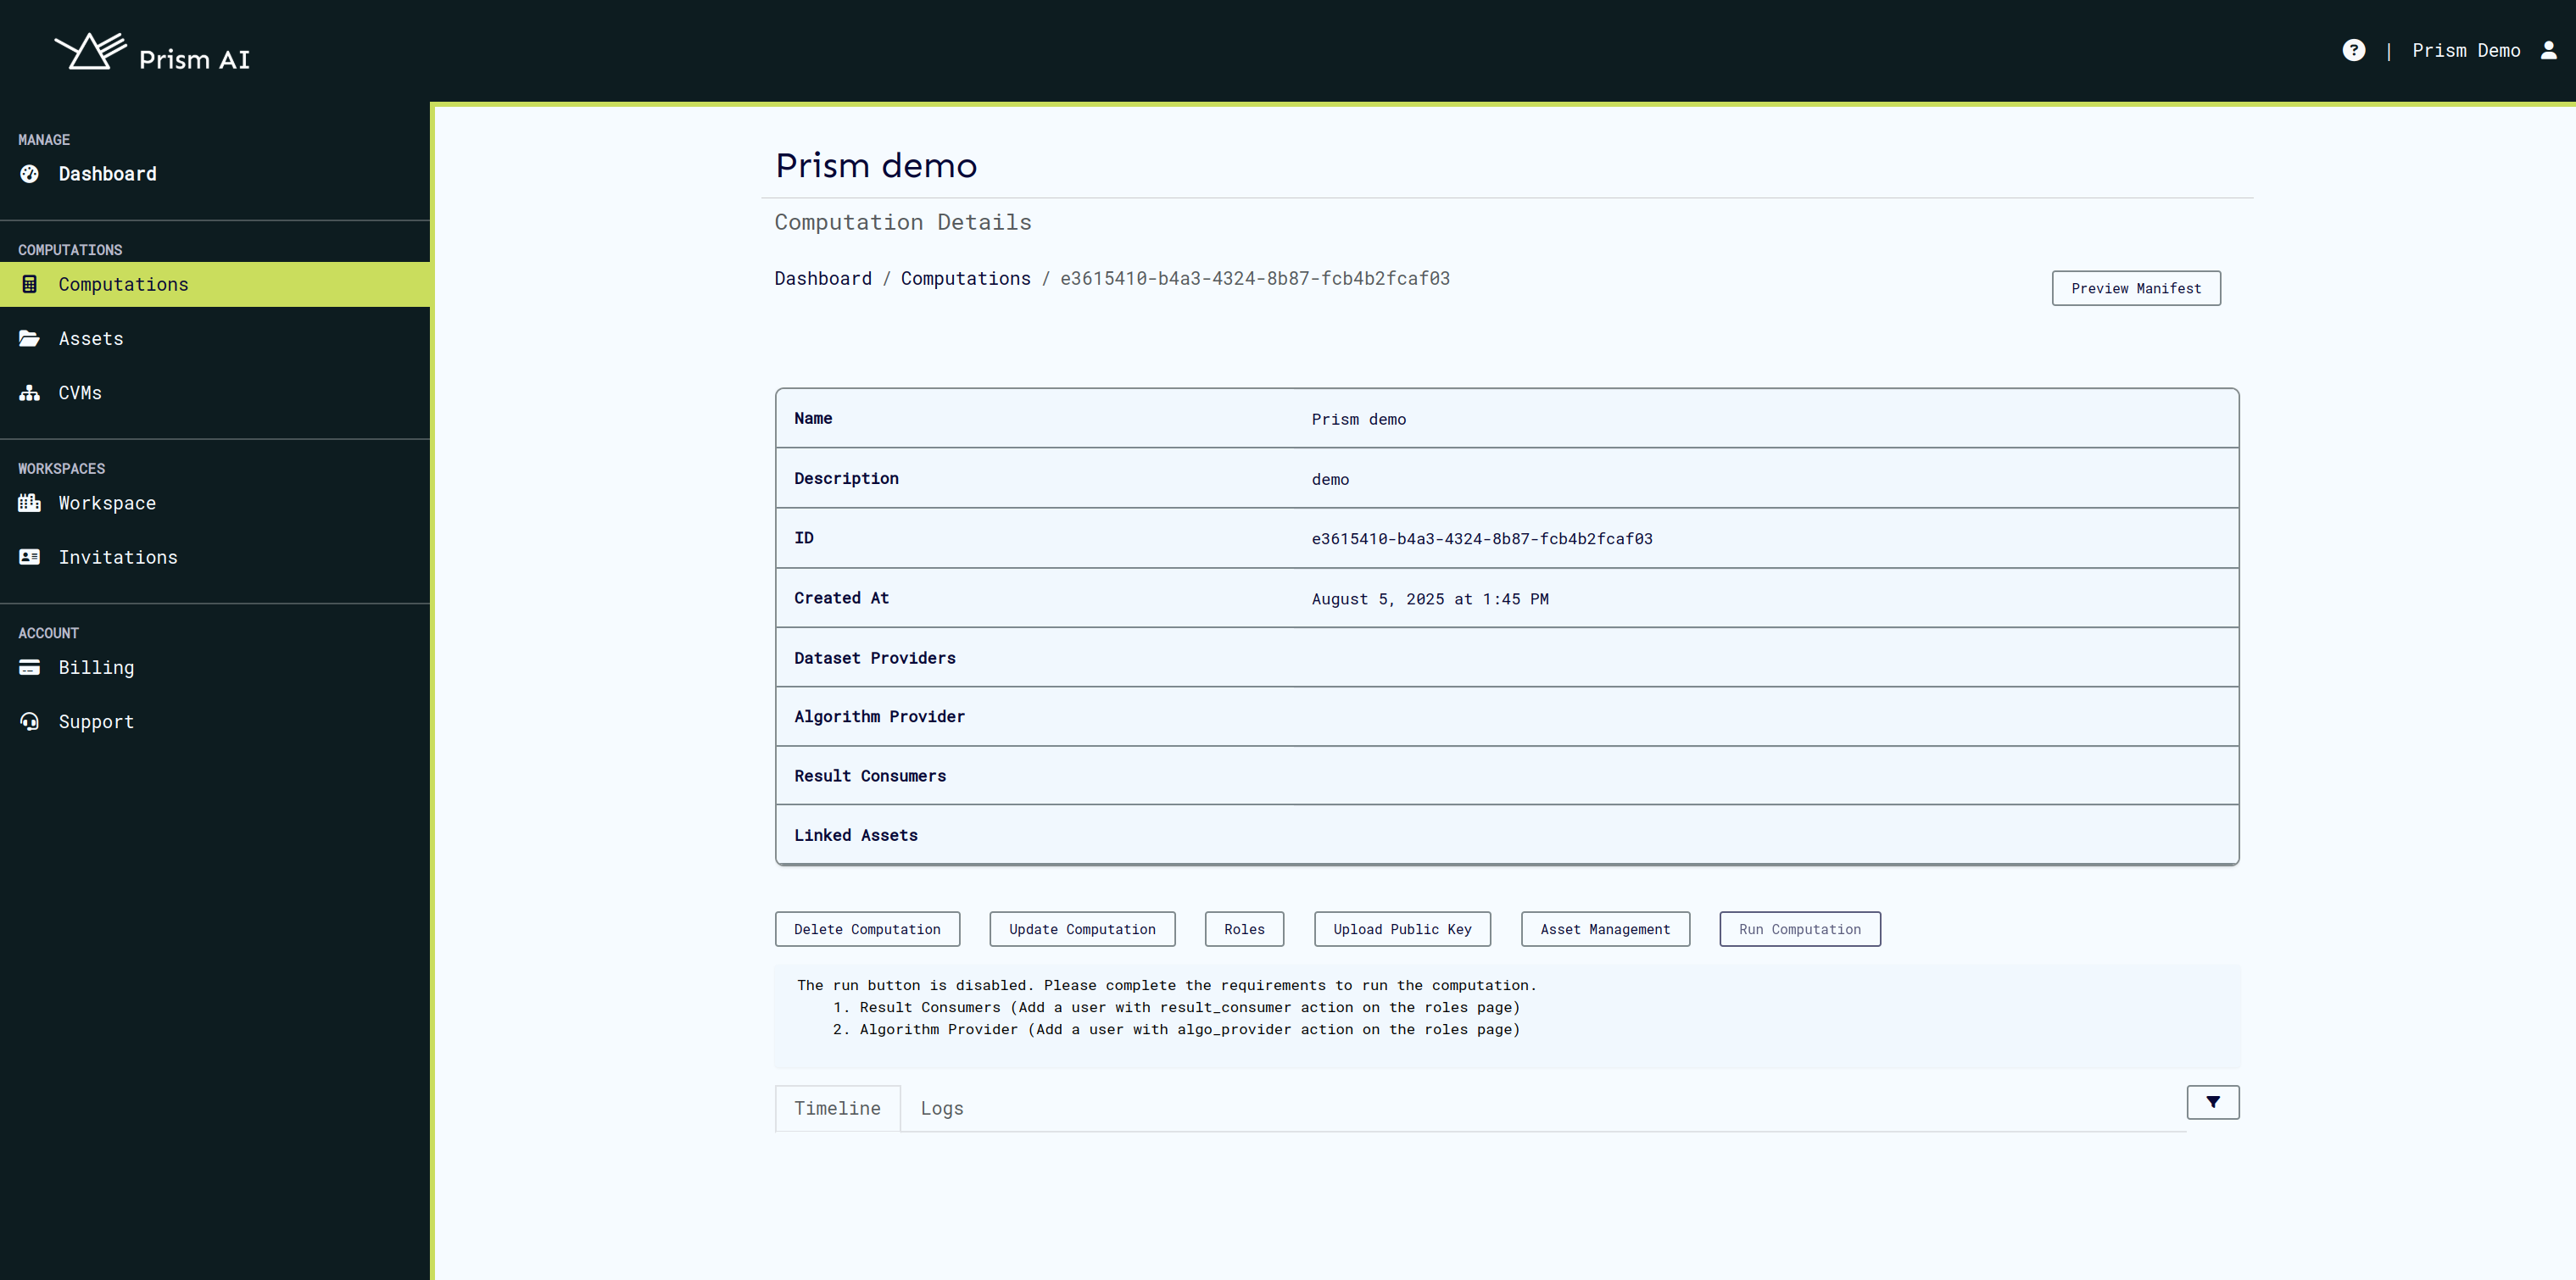
Prerequisites Check
Before running, ensure:
- ✅ All required roles are assigned
- ✅ All necessary assets are linked
- ✅ At least one CVM is online
- ✅ Users have uploaded their public keys
The Run Computation button will be disabled until all requirements are met.
Executing the Computation��
- Click Run Computation (when enabled)
- Select an available online CVM
- Confirm execution

Monitoring Execution
Real-time Monitoring
Once started, you can monitor:
- Events: High-level computation milestones
- Logs: Detailed execution information from the inenclave agent
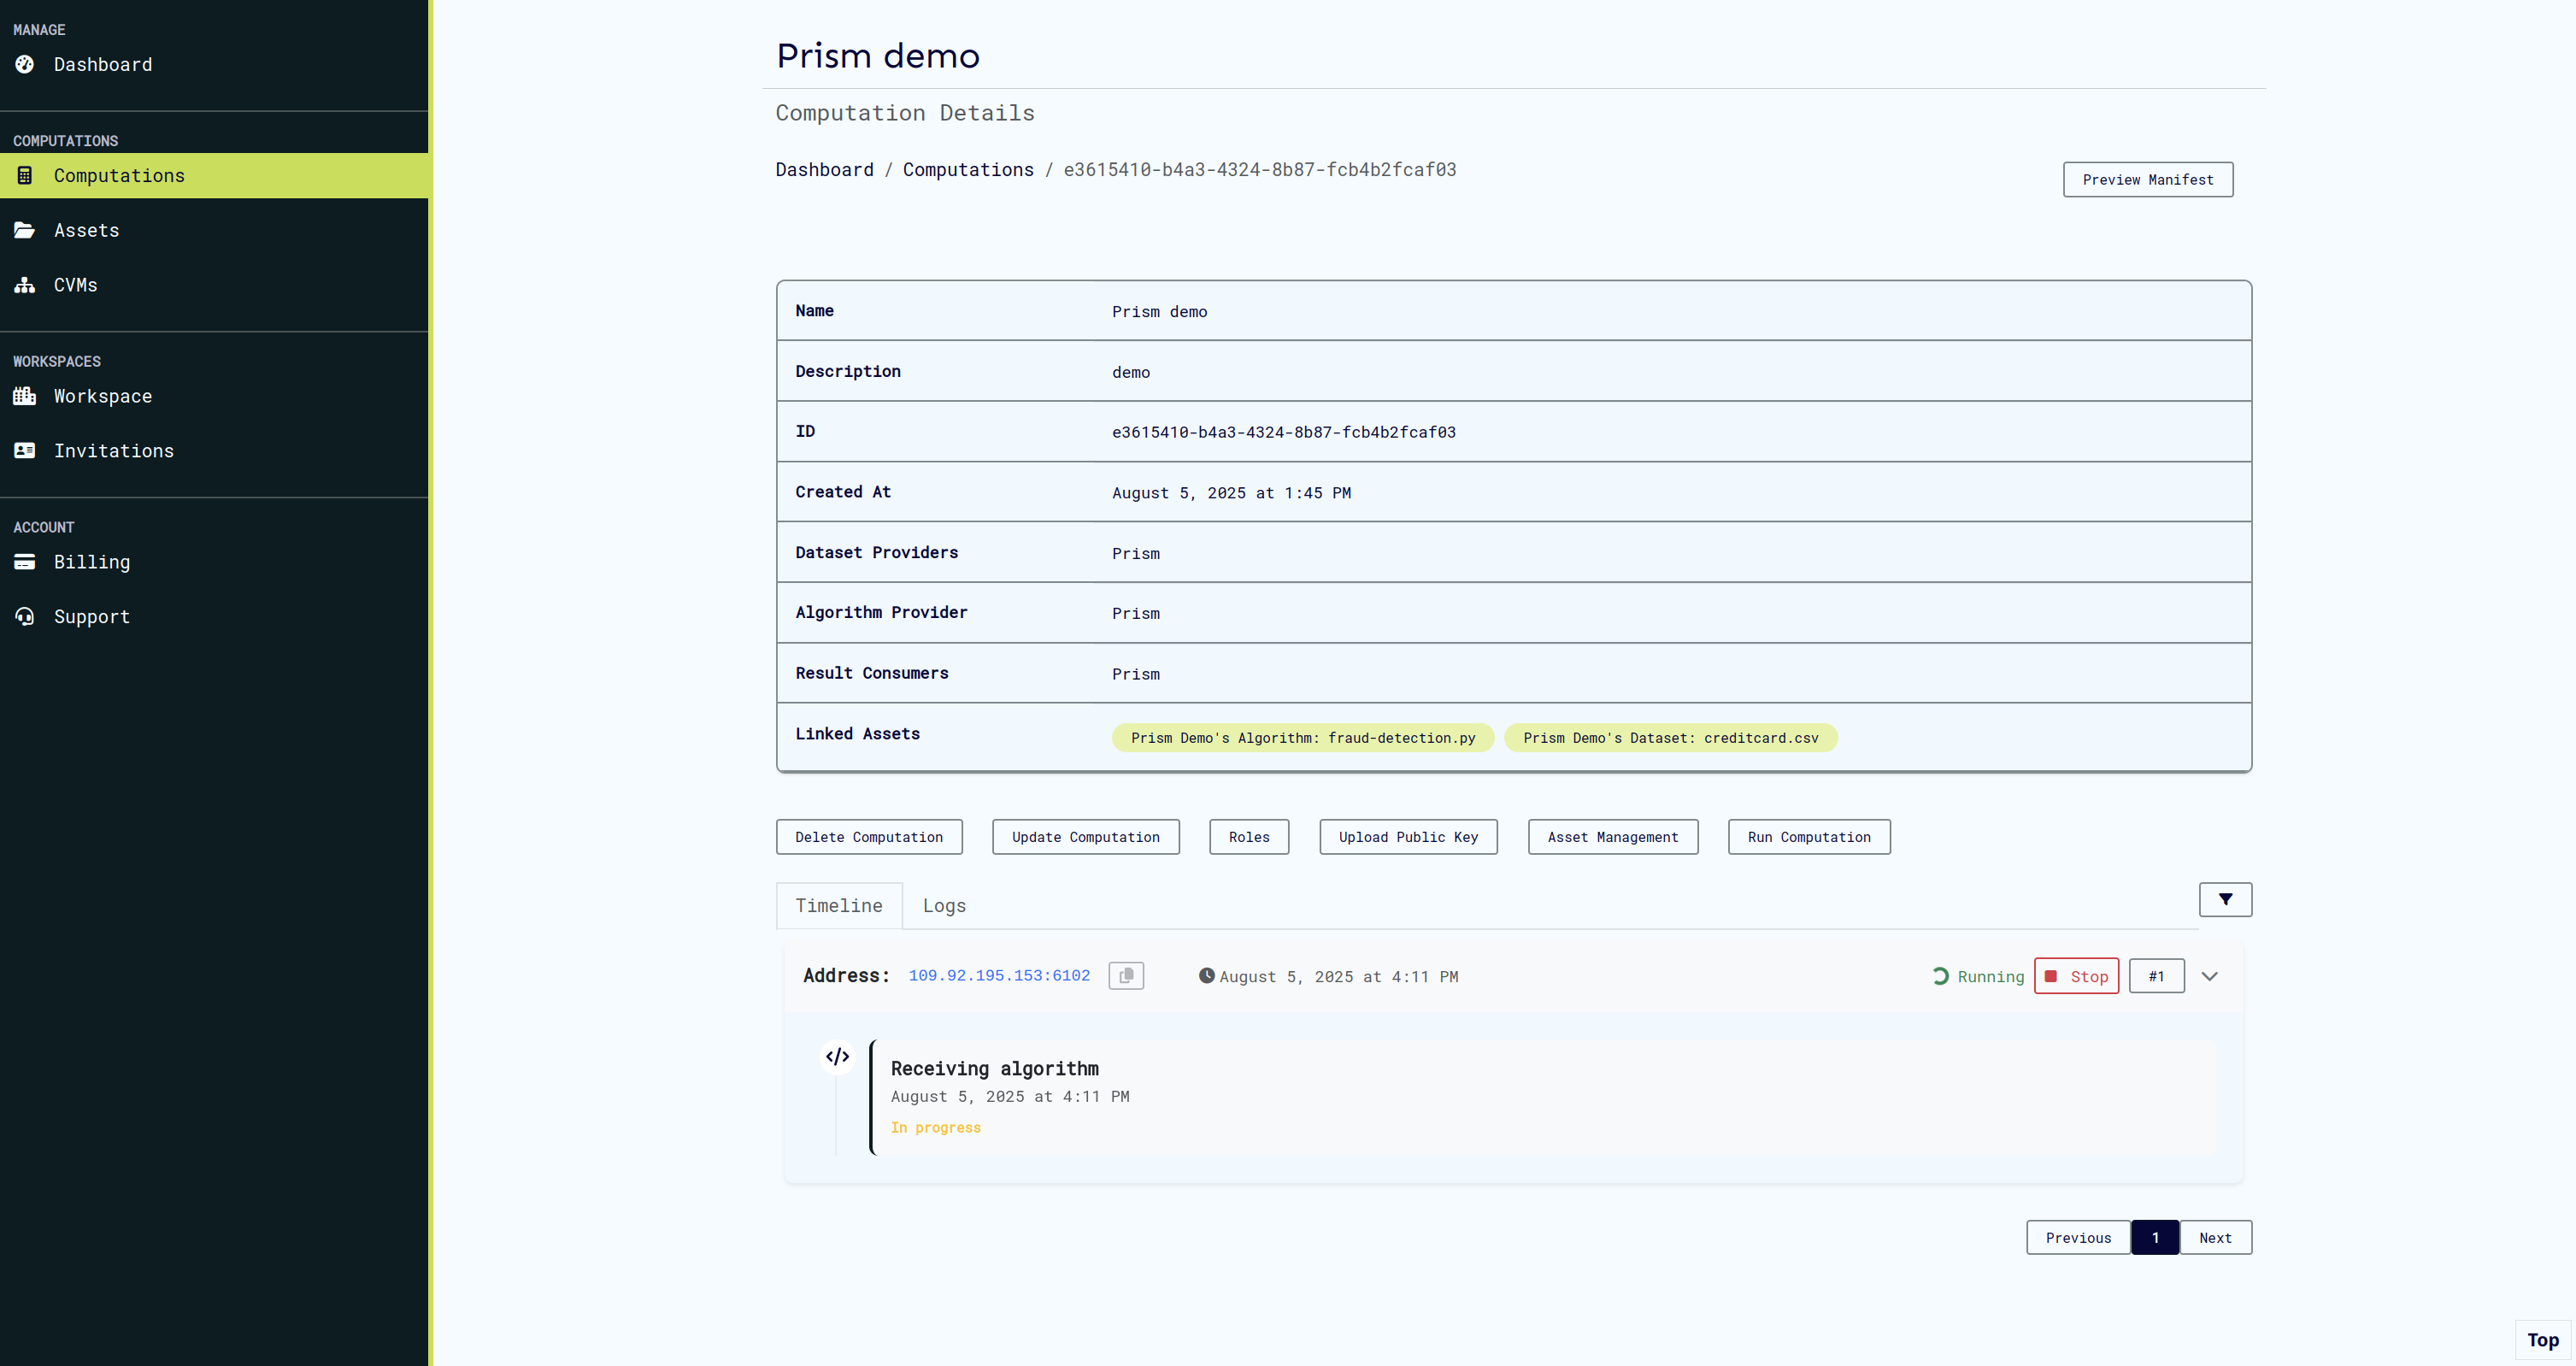
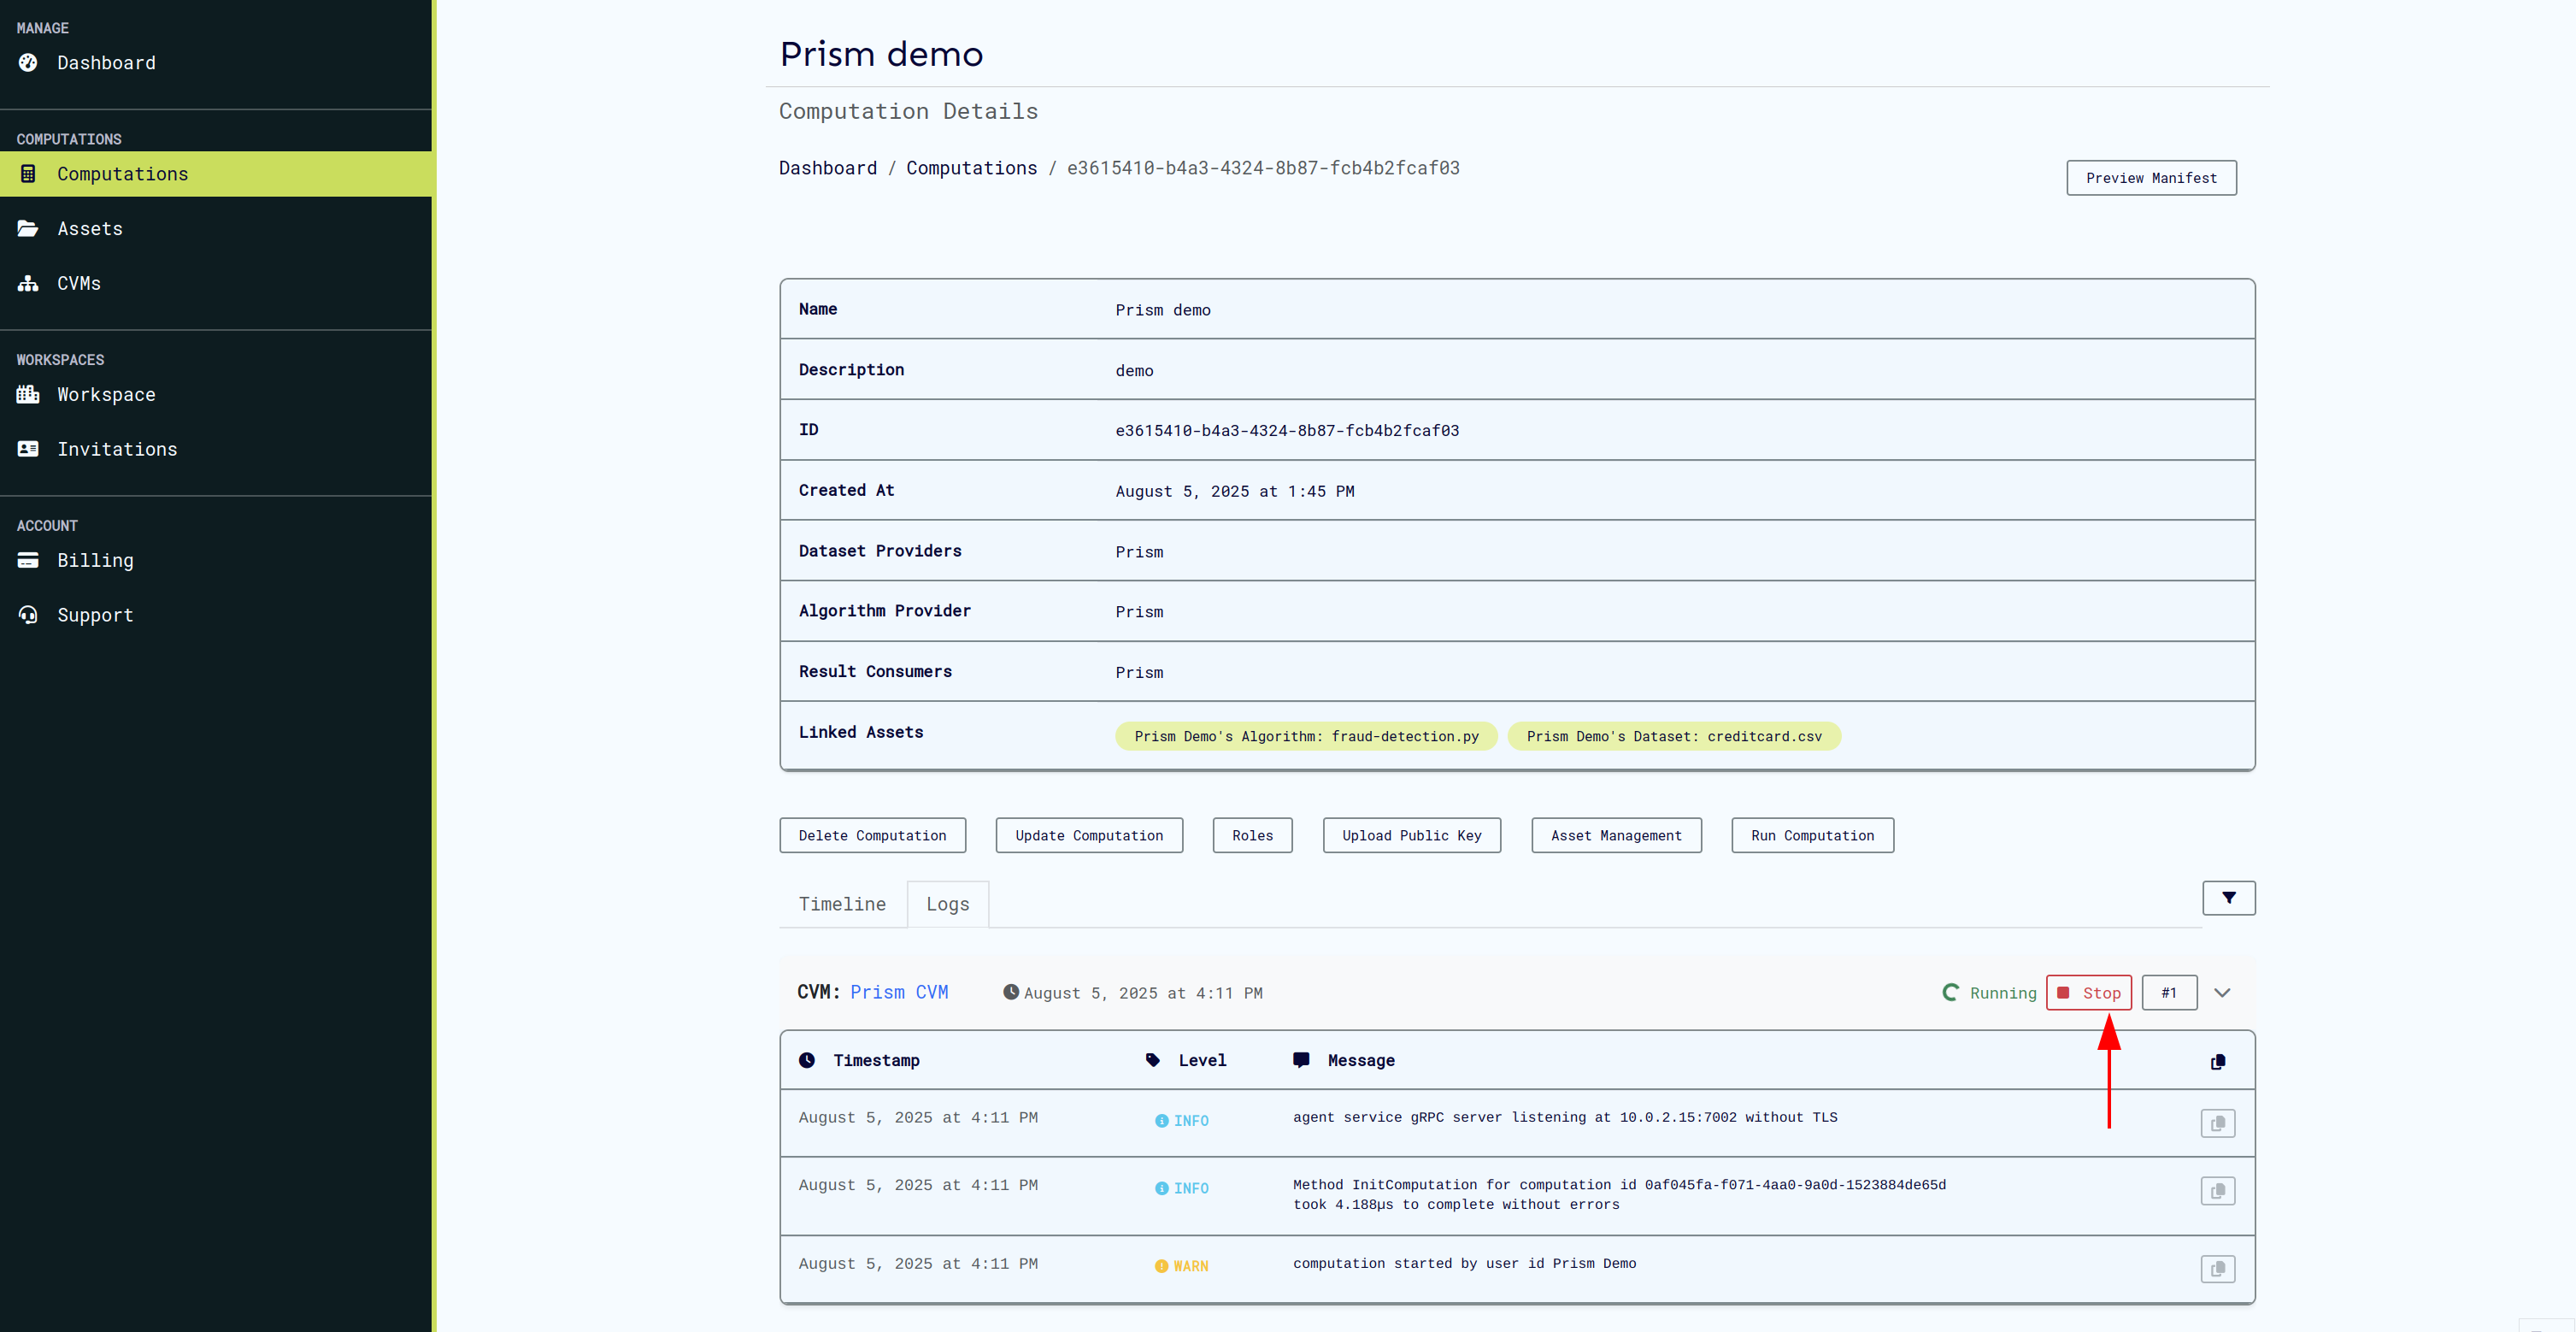
Stopping a Running Computation
You can stop a computation at any time by:
- Clicking the Stop button on the events card, or
- Using the Stop button in the Logs tab

Security & Public Keys
Why Public Keys Matter
Public keys are essential for:
- User identification and authentication
- Secure asset uploads
- Encrypted result retrieval
- Maintaining computation integrity
Managing Your Keys
- Generate a public/private key pair using your preferred tool or using Cocos CLI
- Upload your public key to your Prism profile
- Keep your private key secure - you'll need it for:
🔐 Security Best Practice: Never share your private key. Prism only needs your public key for verification.
Troubleshooting
Common Issues
CVM Won't Start
- Check your subscription status and available credits
- Try creating a new CVM
- Contact support if the issue persists
Can't Run Computation
- Ensure all required assets are linked
- Verify all roles have assigned users
- Check that at least one CVM is online
- Check your subscription status and available credits
Asset Upload Failures
- Verify your public key is correctly uploaded
- Ensure you have proper role permissions
Getting Help
- Documentation: Browse our comprehensive docs
- Support: Contact our support team
- Community: Join our user community forums
Next Steps
Now that you've completed the getting started guide:
- Explore Advanced Features: Learn about computation roles, advanced security settings
- API Integration: Discover how to automate workflows using our API
- Attestation: Discover our attestation implementation
- Community: Connect with other Prism and CoCoS users
Ready to dive deeper? Check out our Computation documentation and API Documentation.